My Impressioms Of This Unit
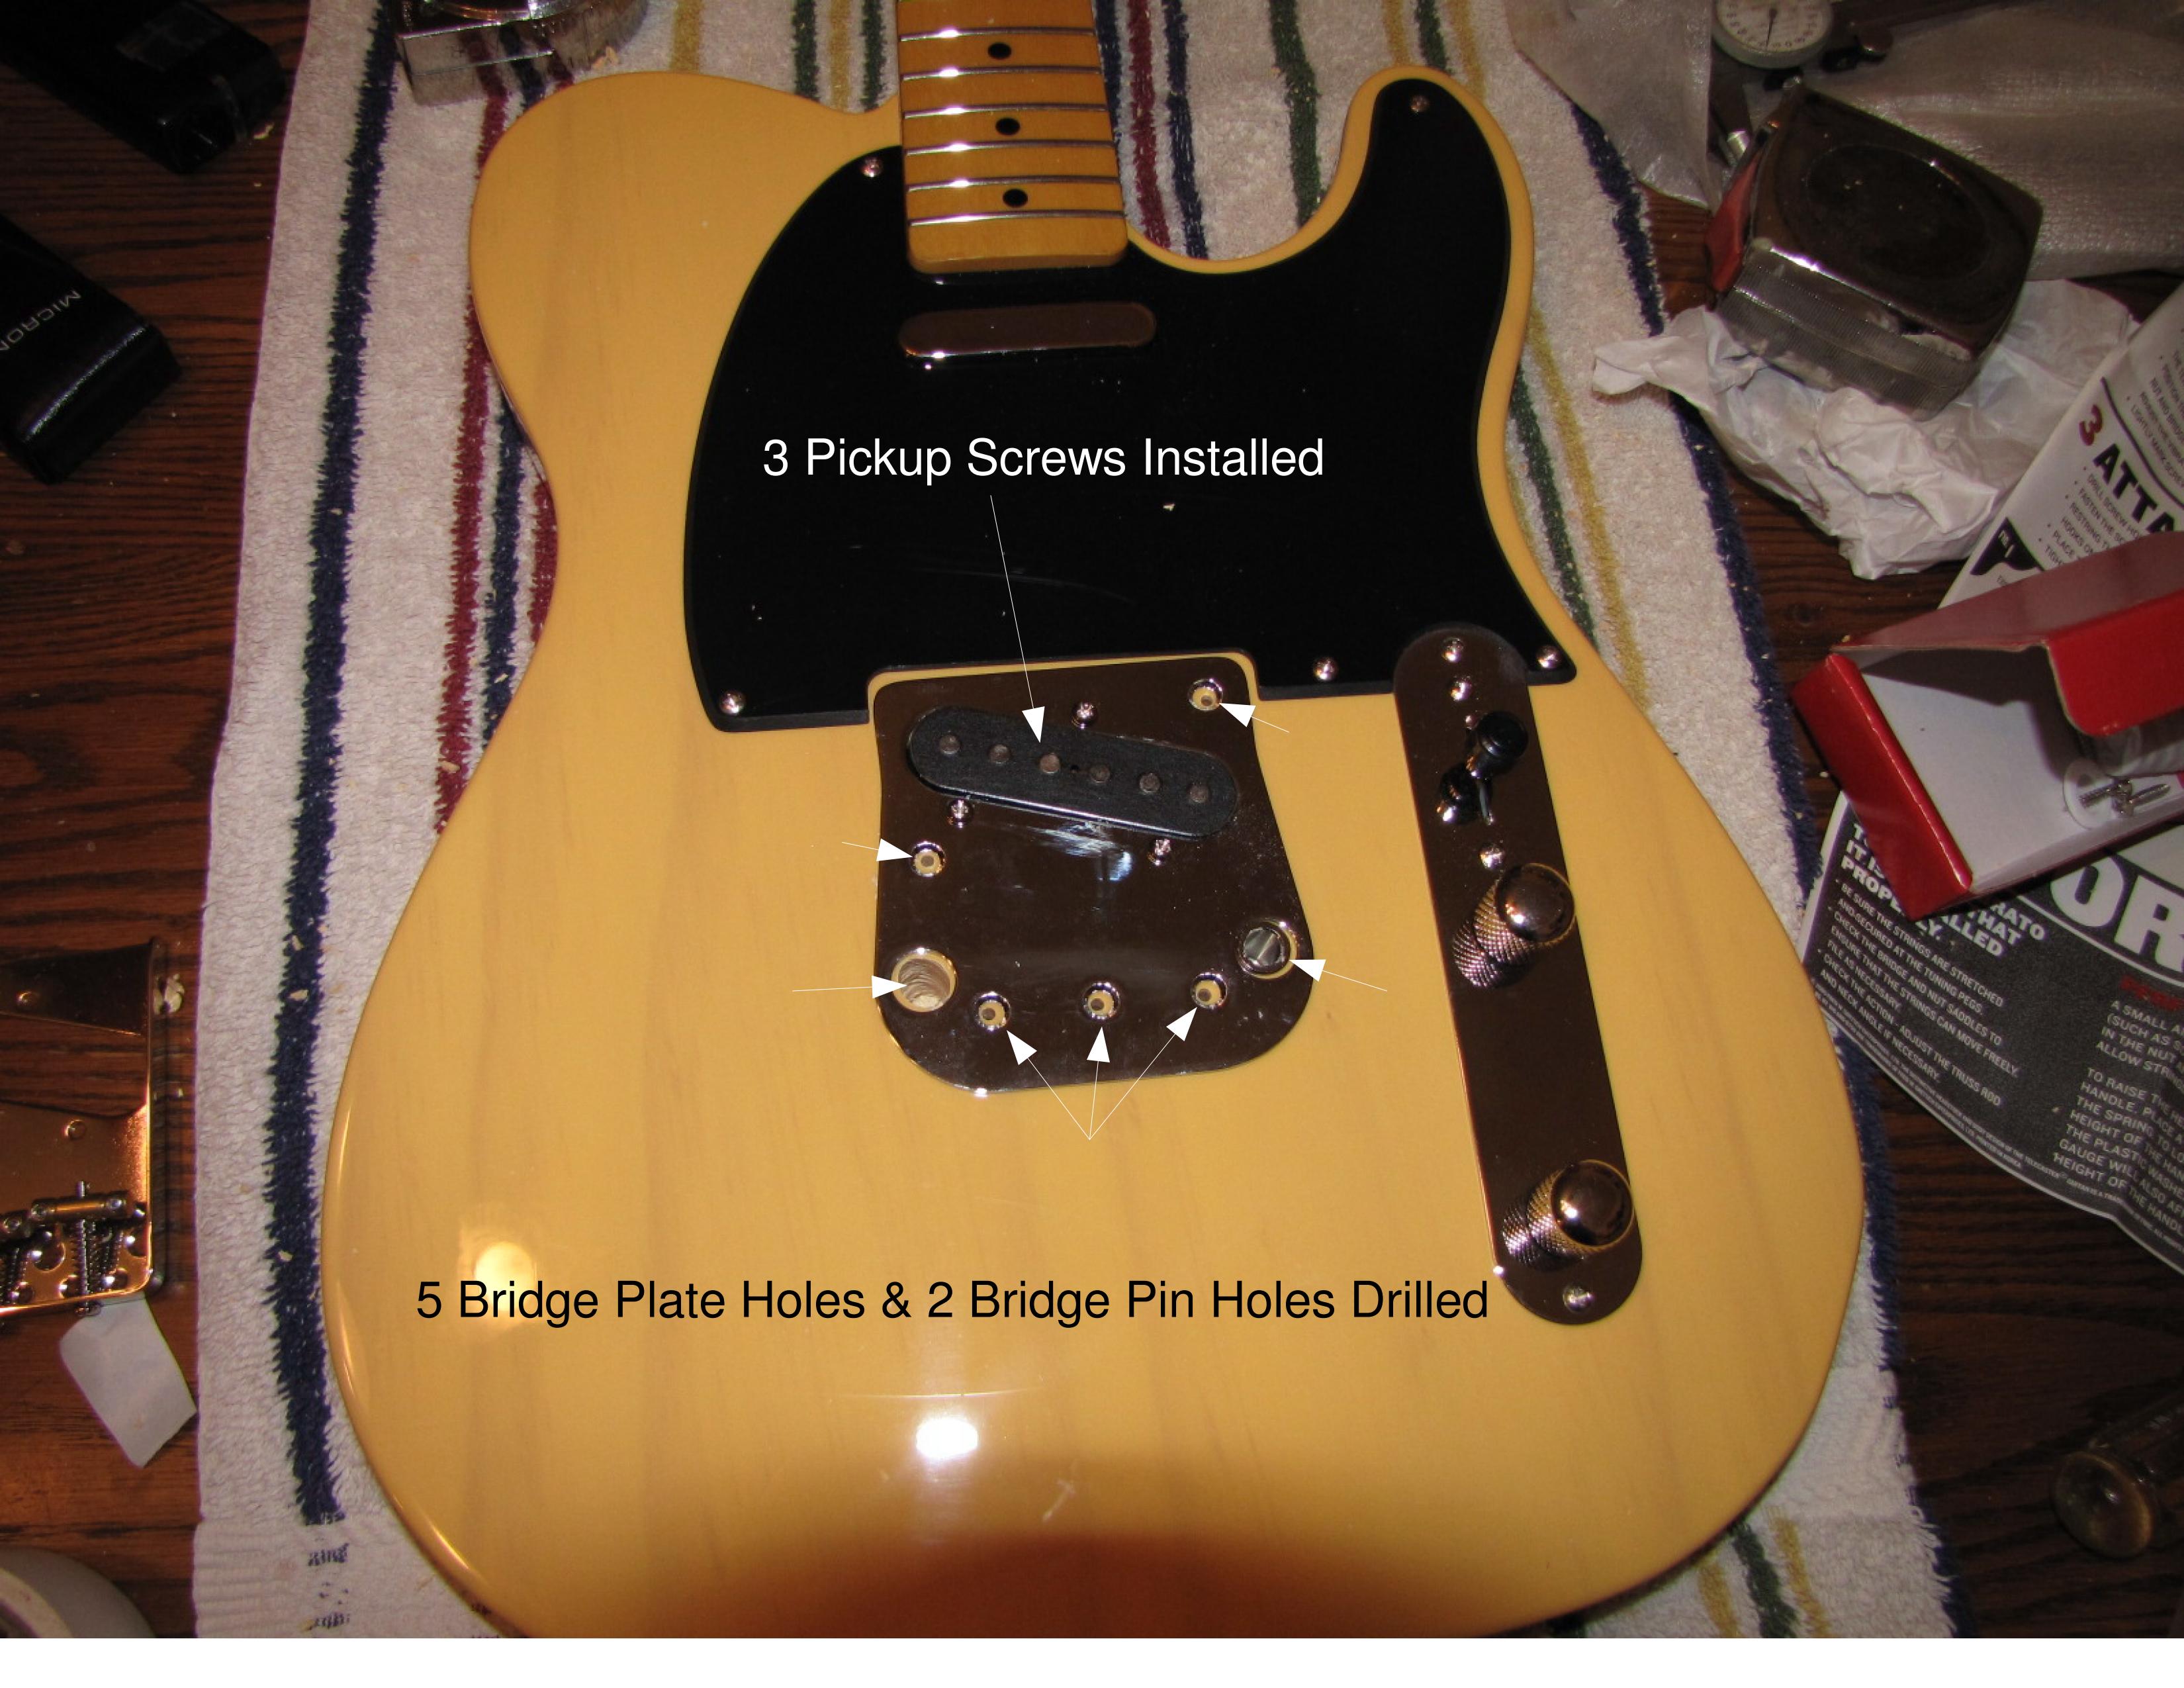
I spent about 6 hours on this install and started with super sharp drills. I used a scratch awl to mark the whole centers and taped the drills to mark the drill depth at the height of the screws.
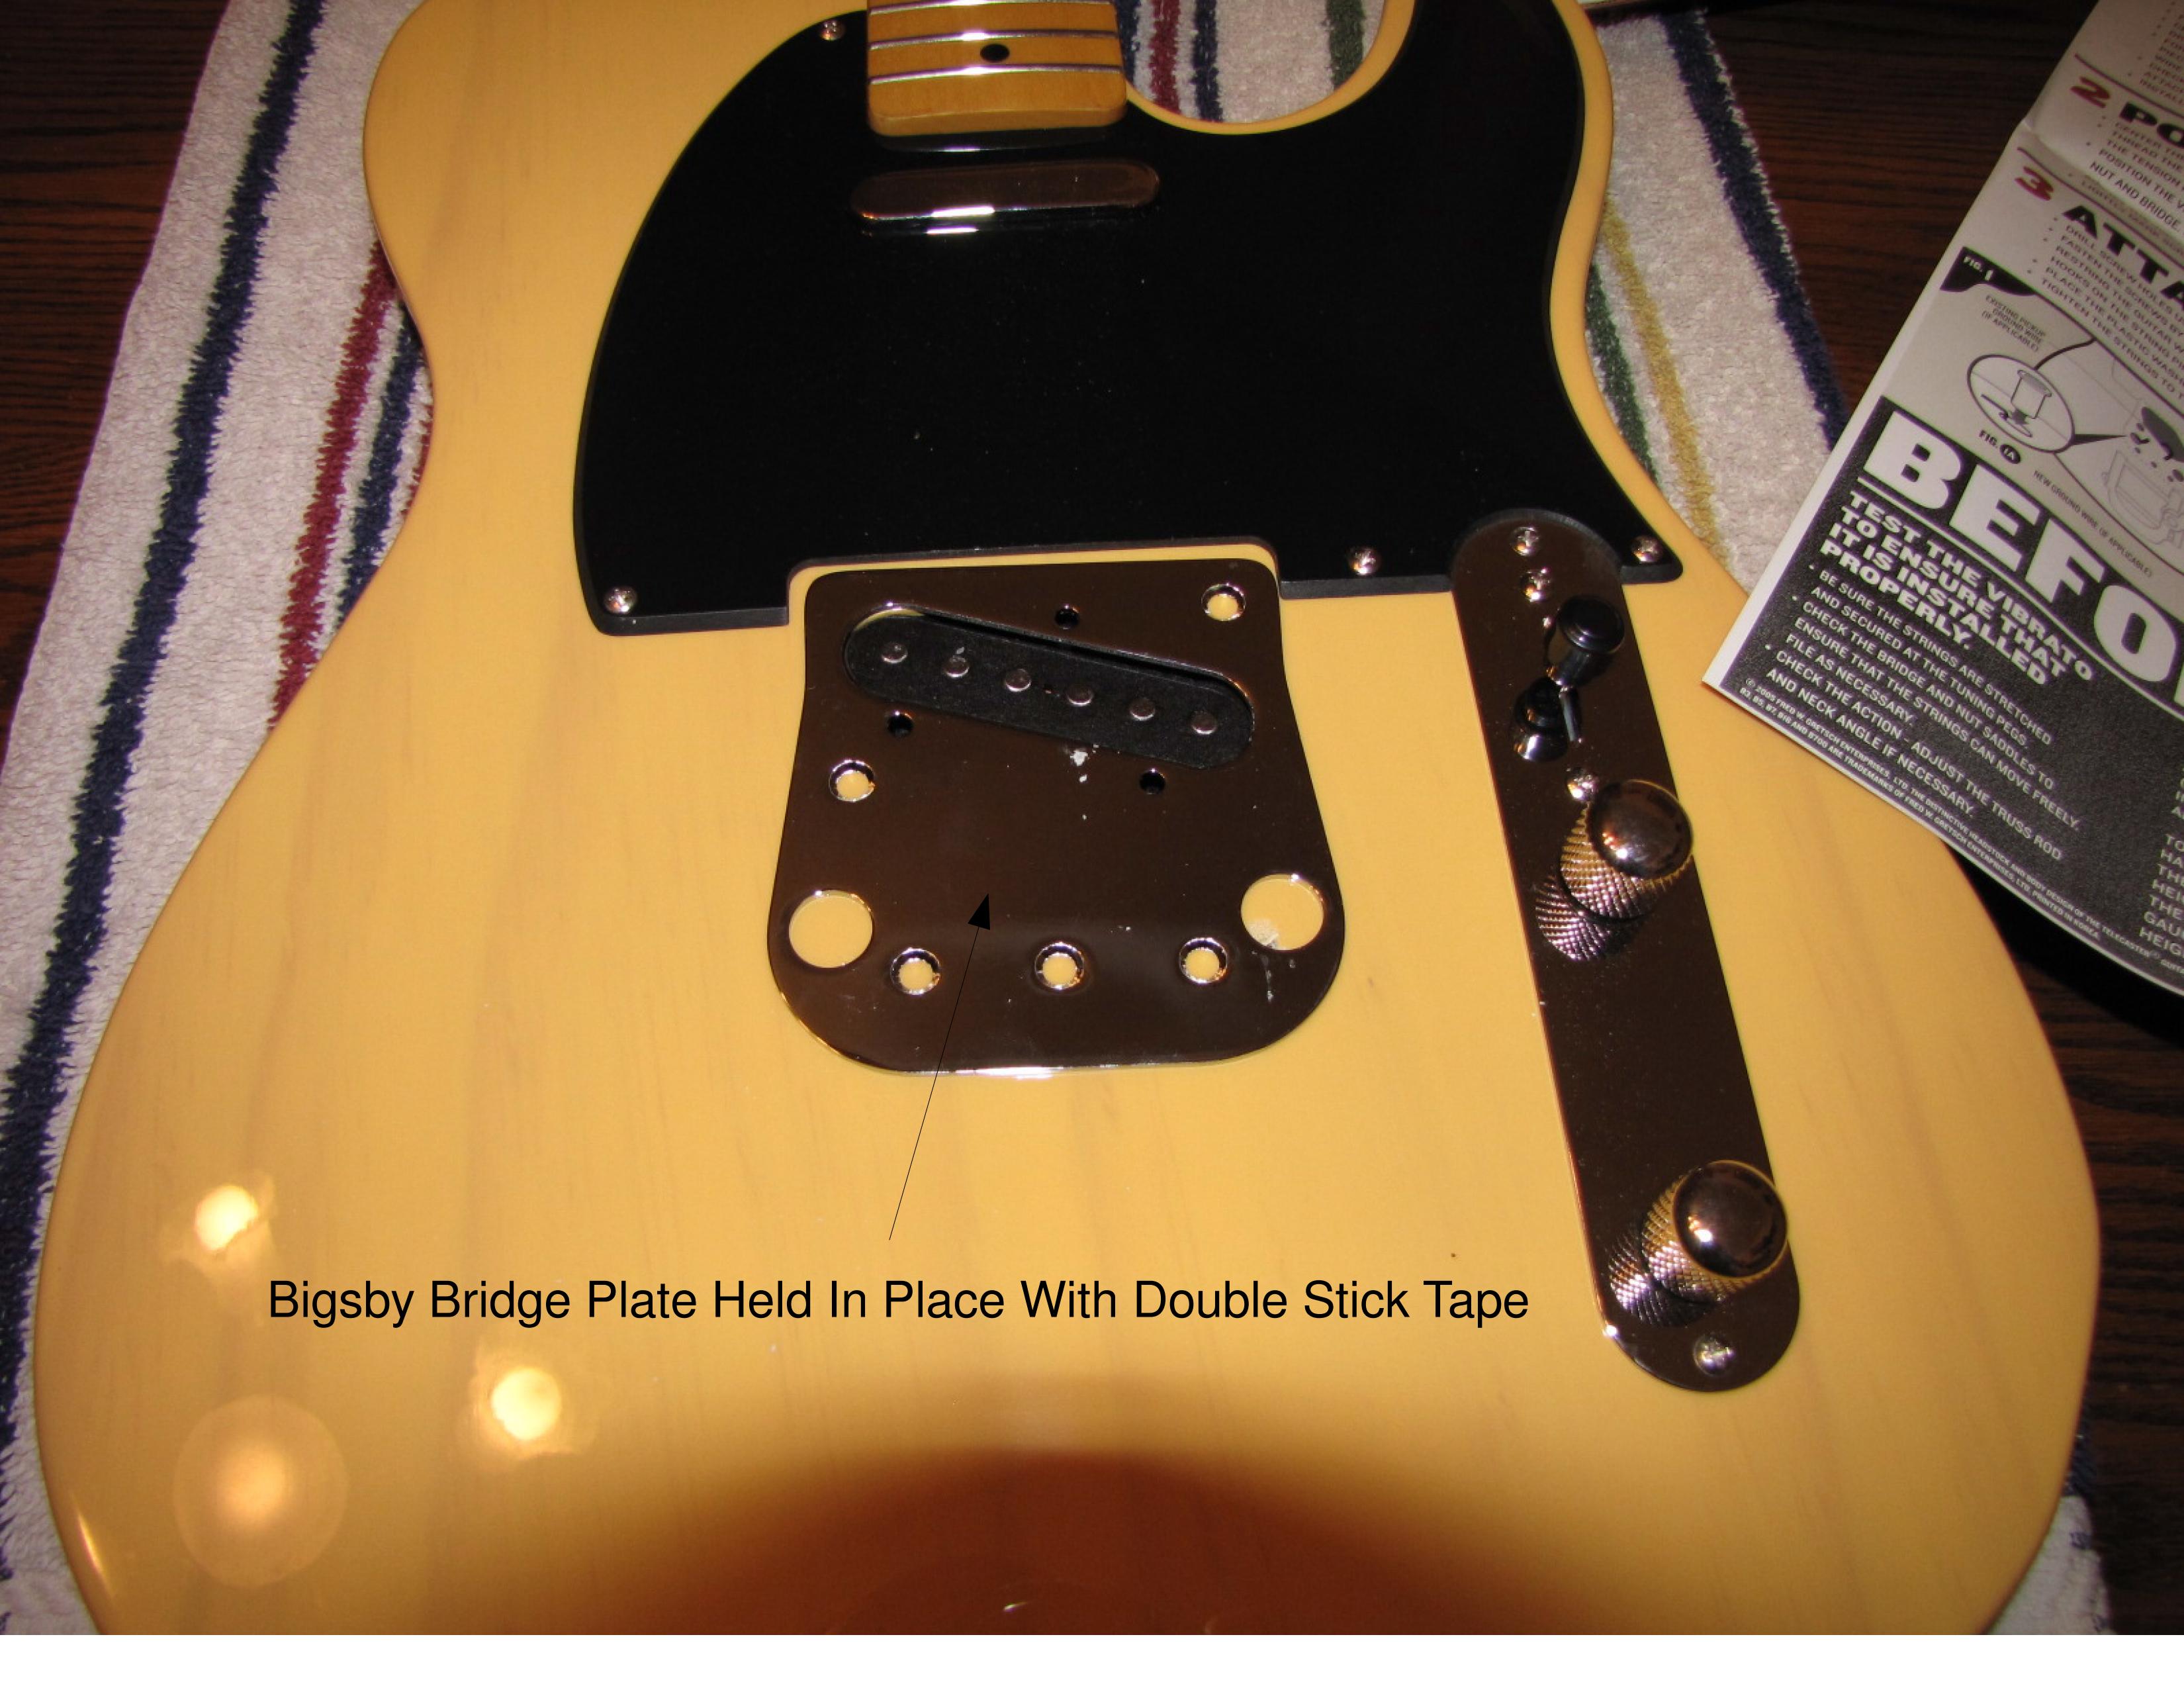
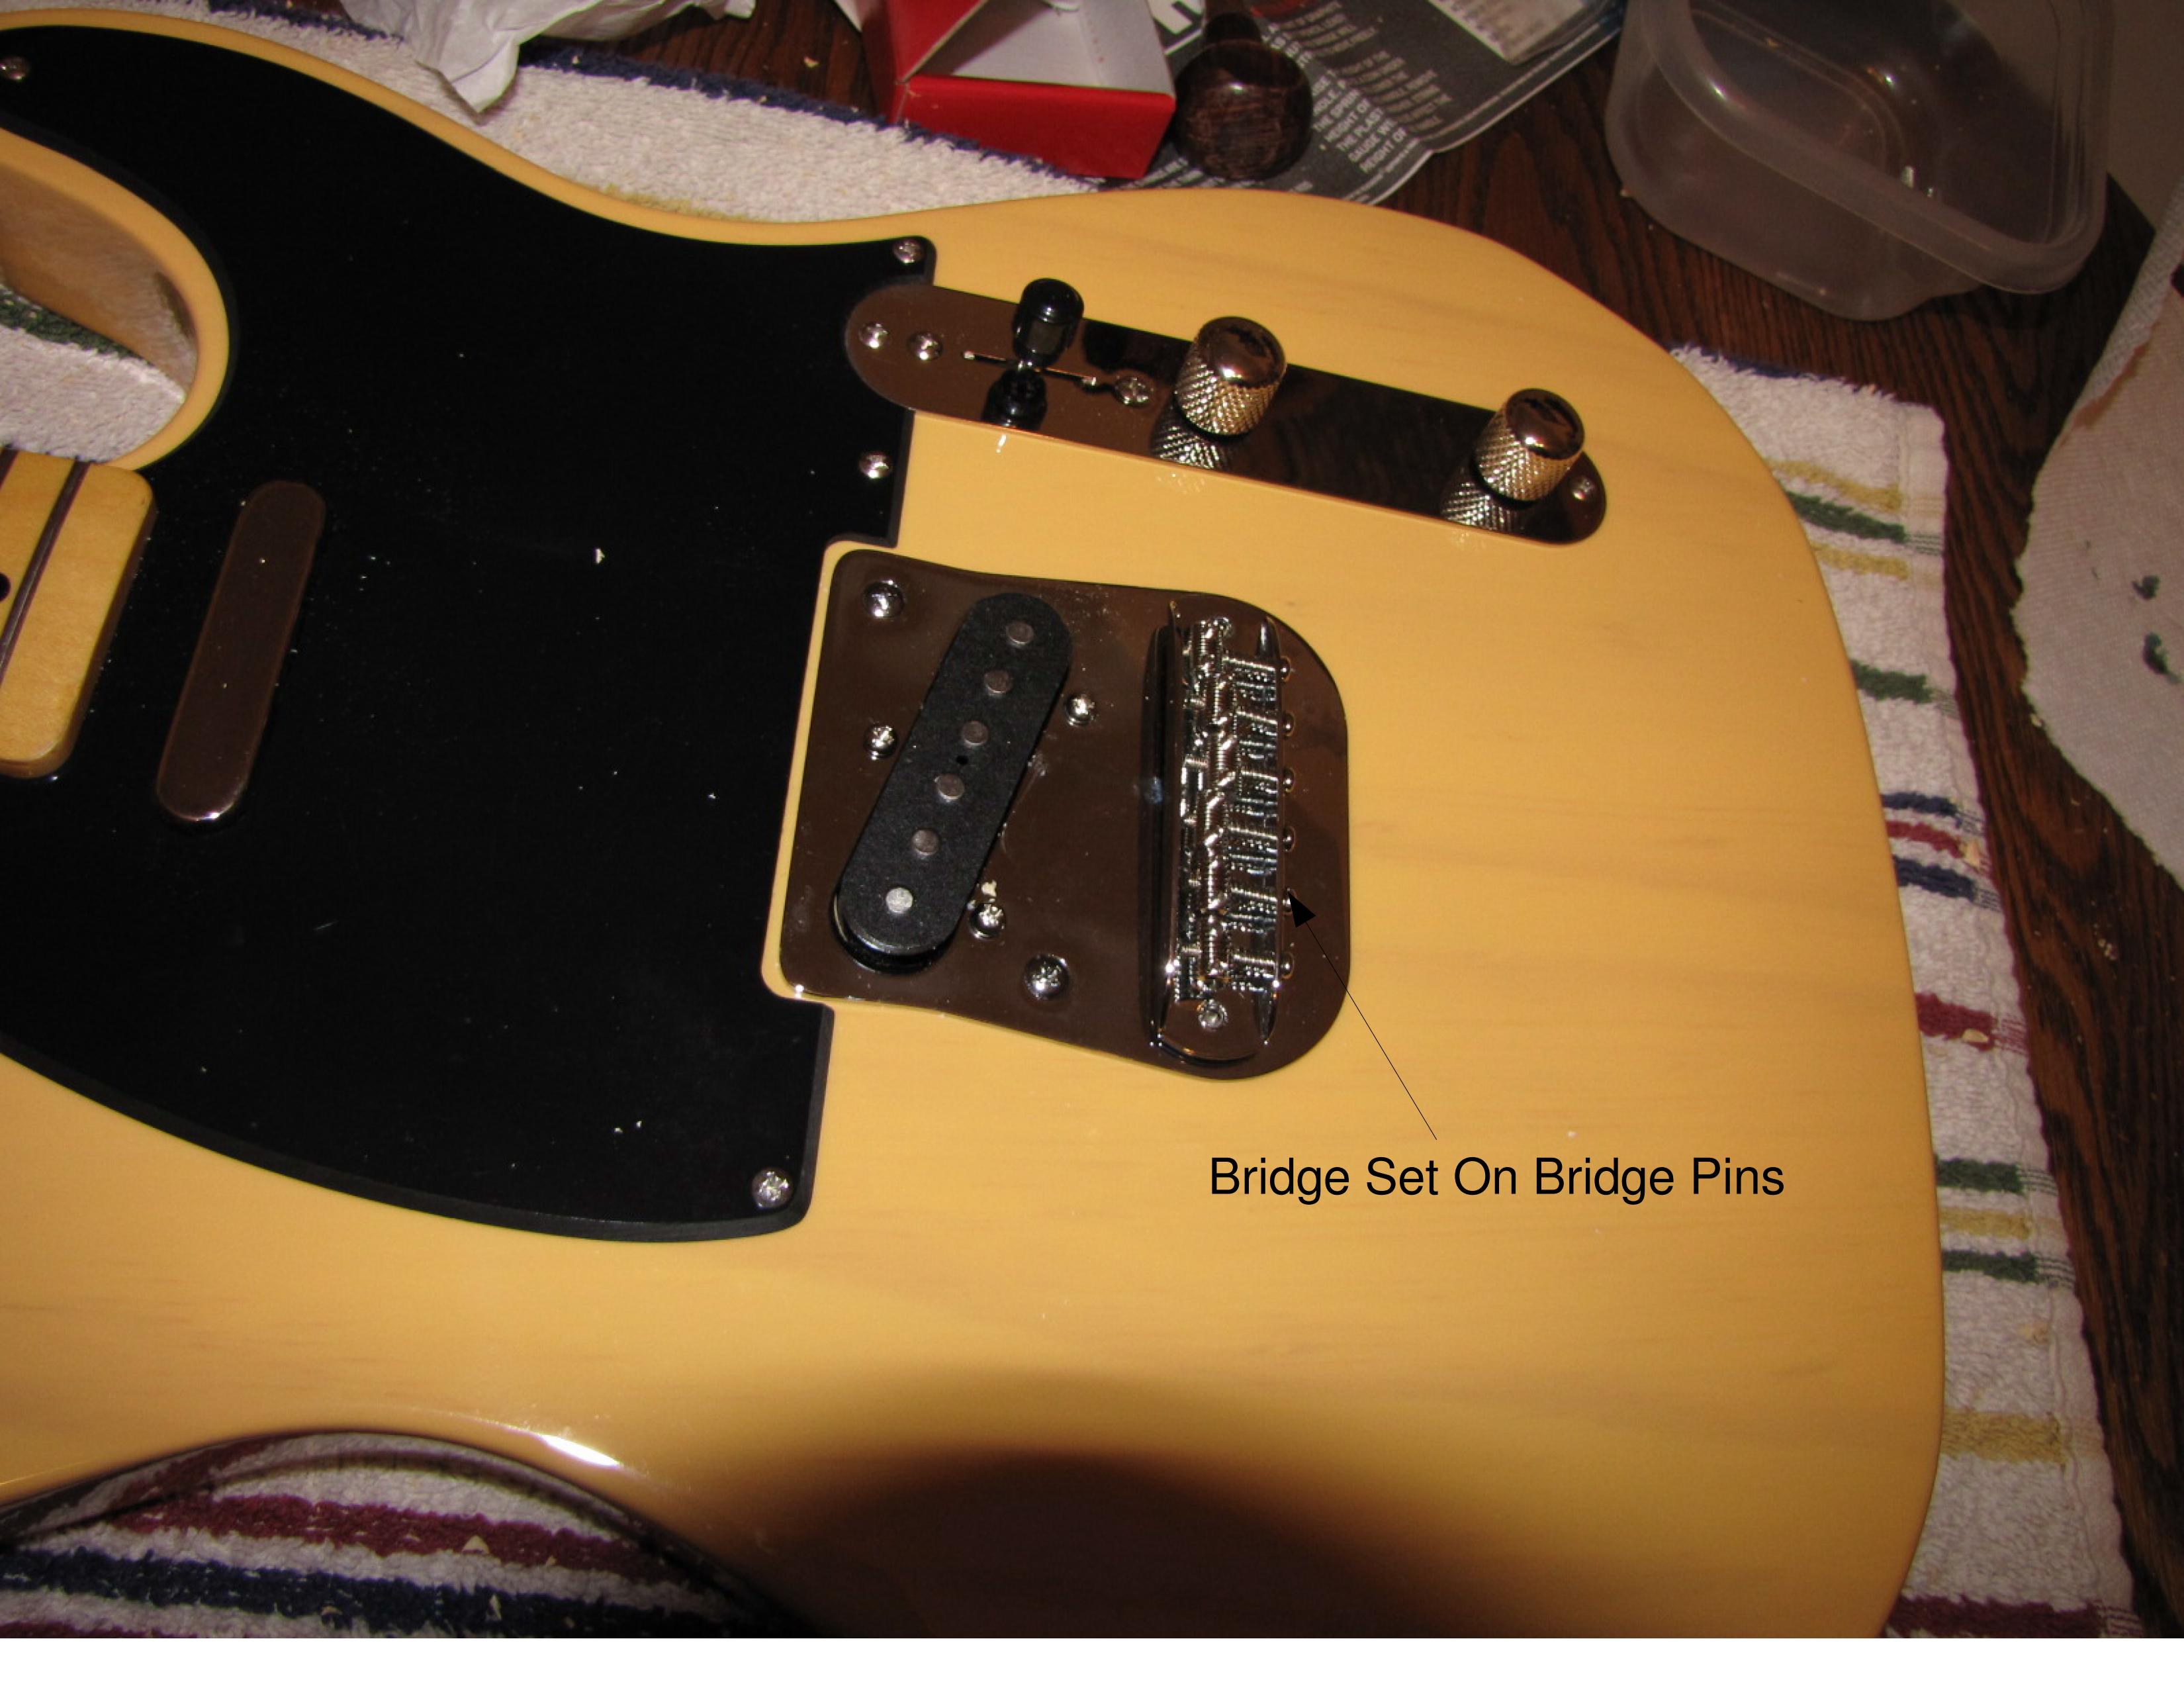
The alignment is not as critical as the instructions would have you believe. If you're off a small amount you can always slide the string one groove over on the bridge to line it up with the neck
or the other strings. I mounted the Bigsby bridge plate all the way forward to put the bridge pieces in the center of the needed adjustment range for intonation. After the intonation adjustment which I
did get dead on, I adjusted the 1st 3 strings (E,B,D) to .046" height, the 4th string to .052" and strings 5 and 6 to .054" at the 12 fret using drill rods as a gage. No buzzes anywhere as this particular guitar
came with a straight neck and even frets. The truss rod is set to about
.005" clearance at the 8th fret when the neck is fingered at the 1st and 14th frets. Instead of using graphite, I put some TriFlow teflon based lube at the nut, bridge and pressure plate areas where they contact the strings.
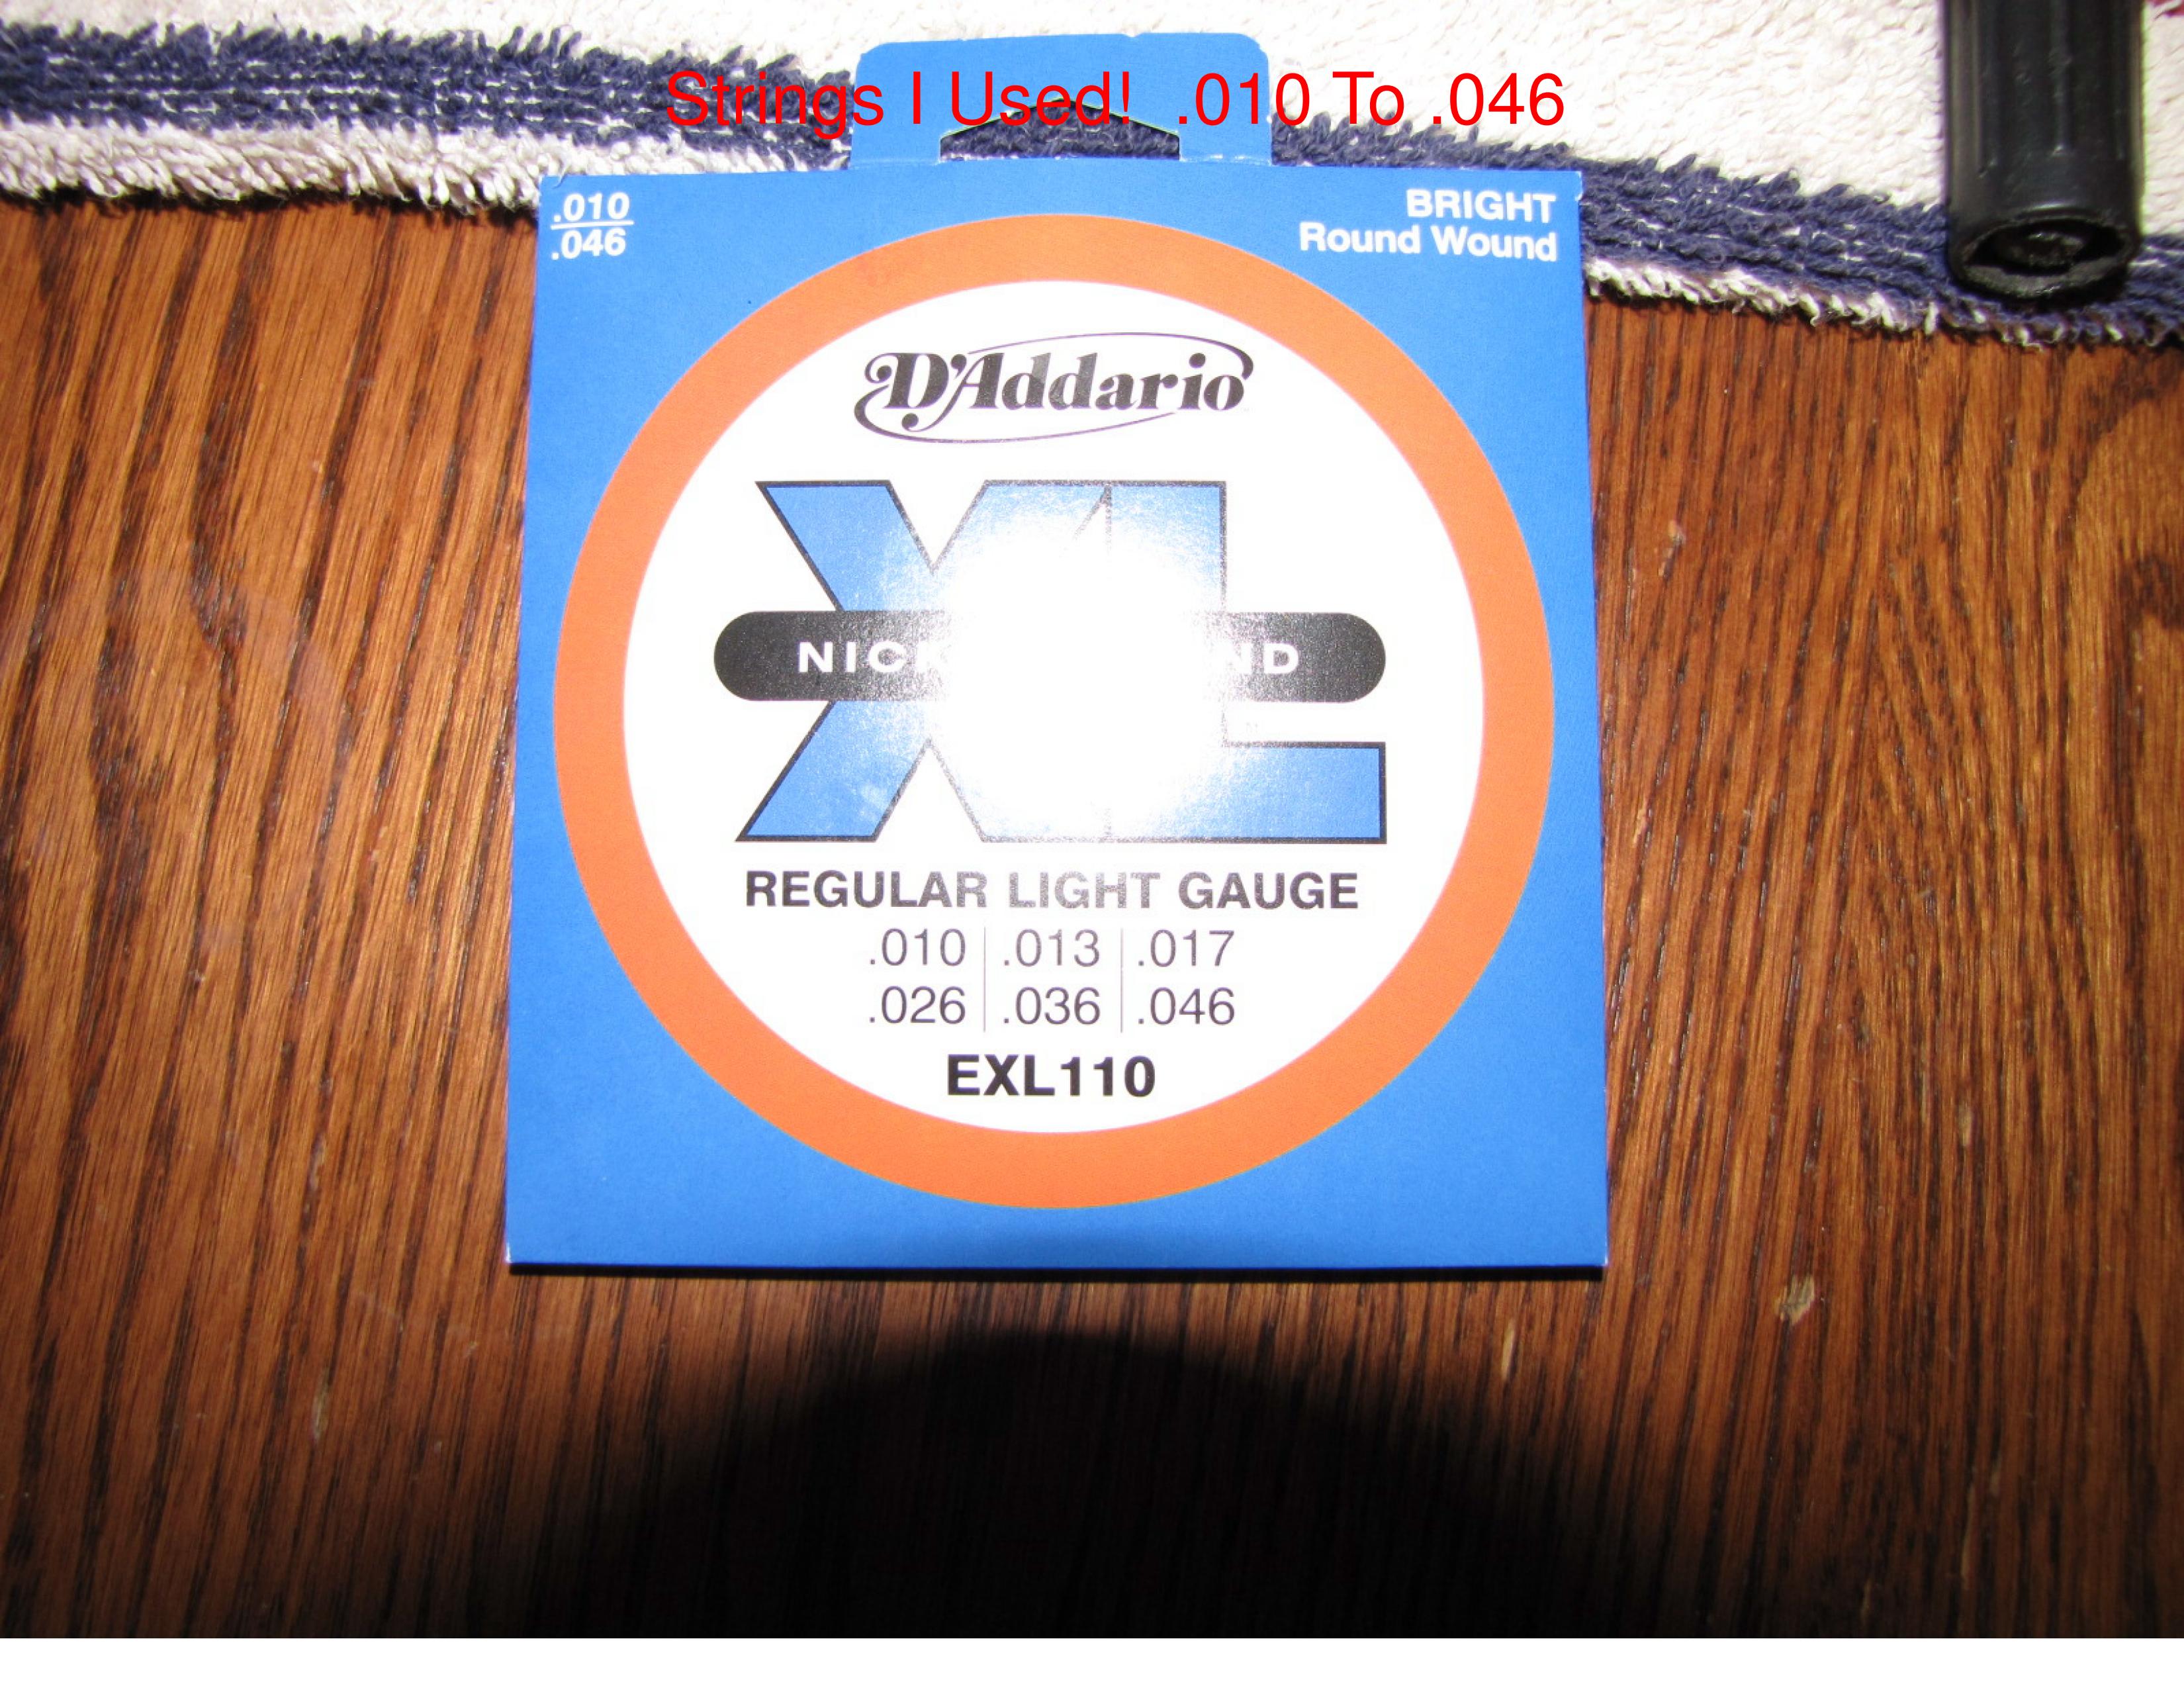
I also used a set of .010 - .046 strings instead of my usual .009 - .042 set. luckily, no changes to the neck angle or height (shims) were necessary. I just left the shield/ground wire where it was at and it contacts
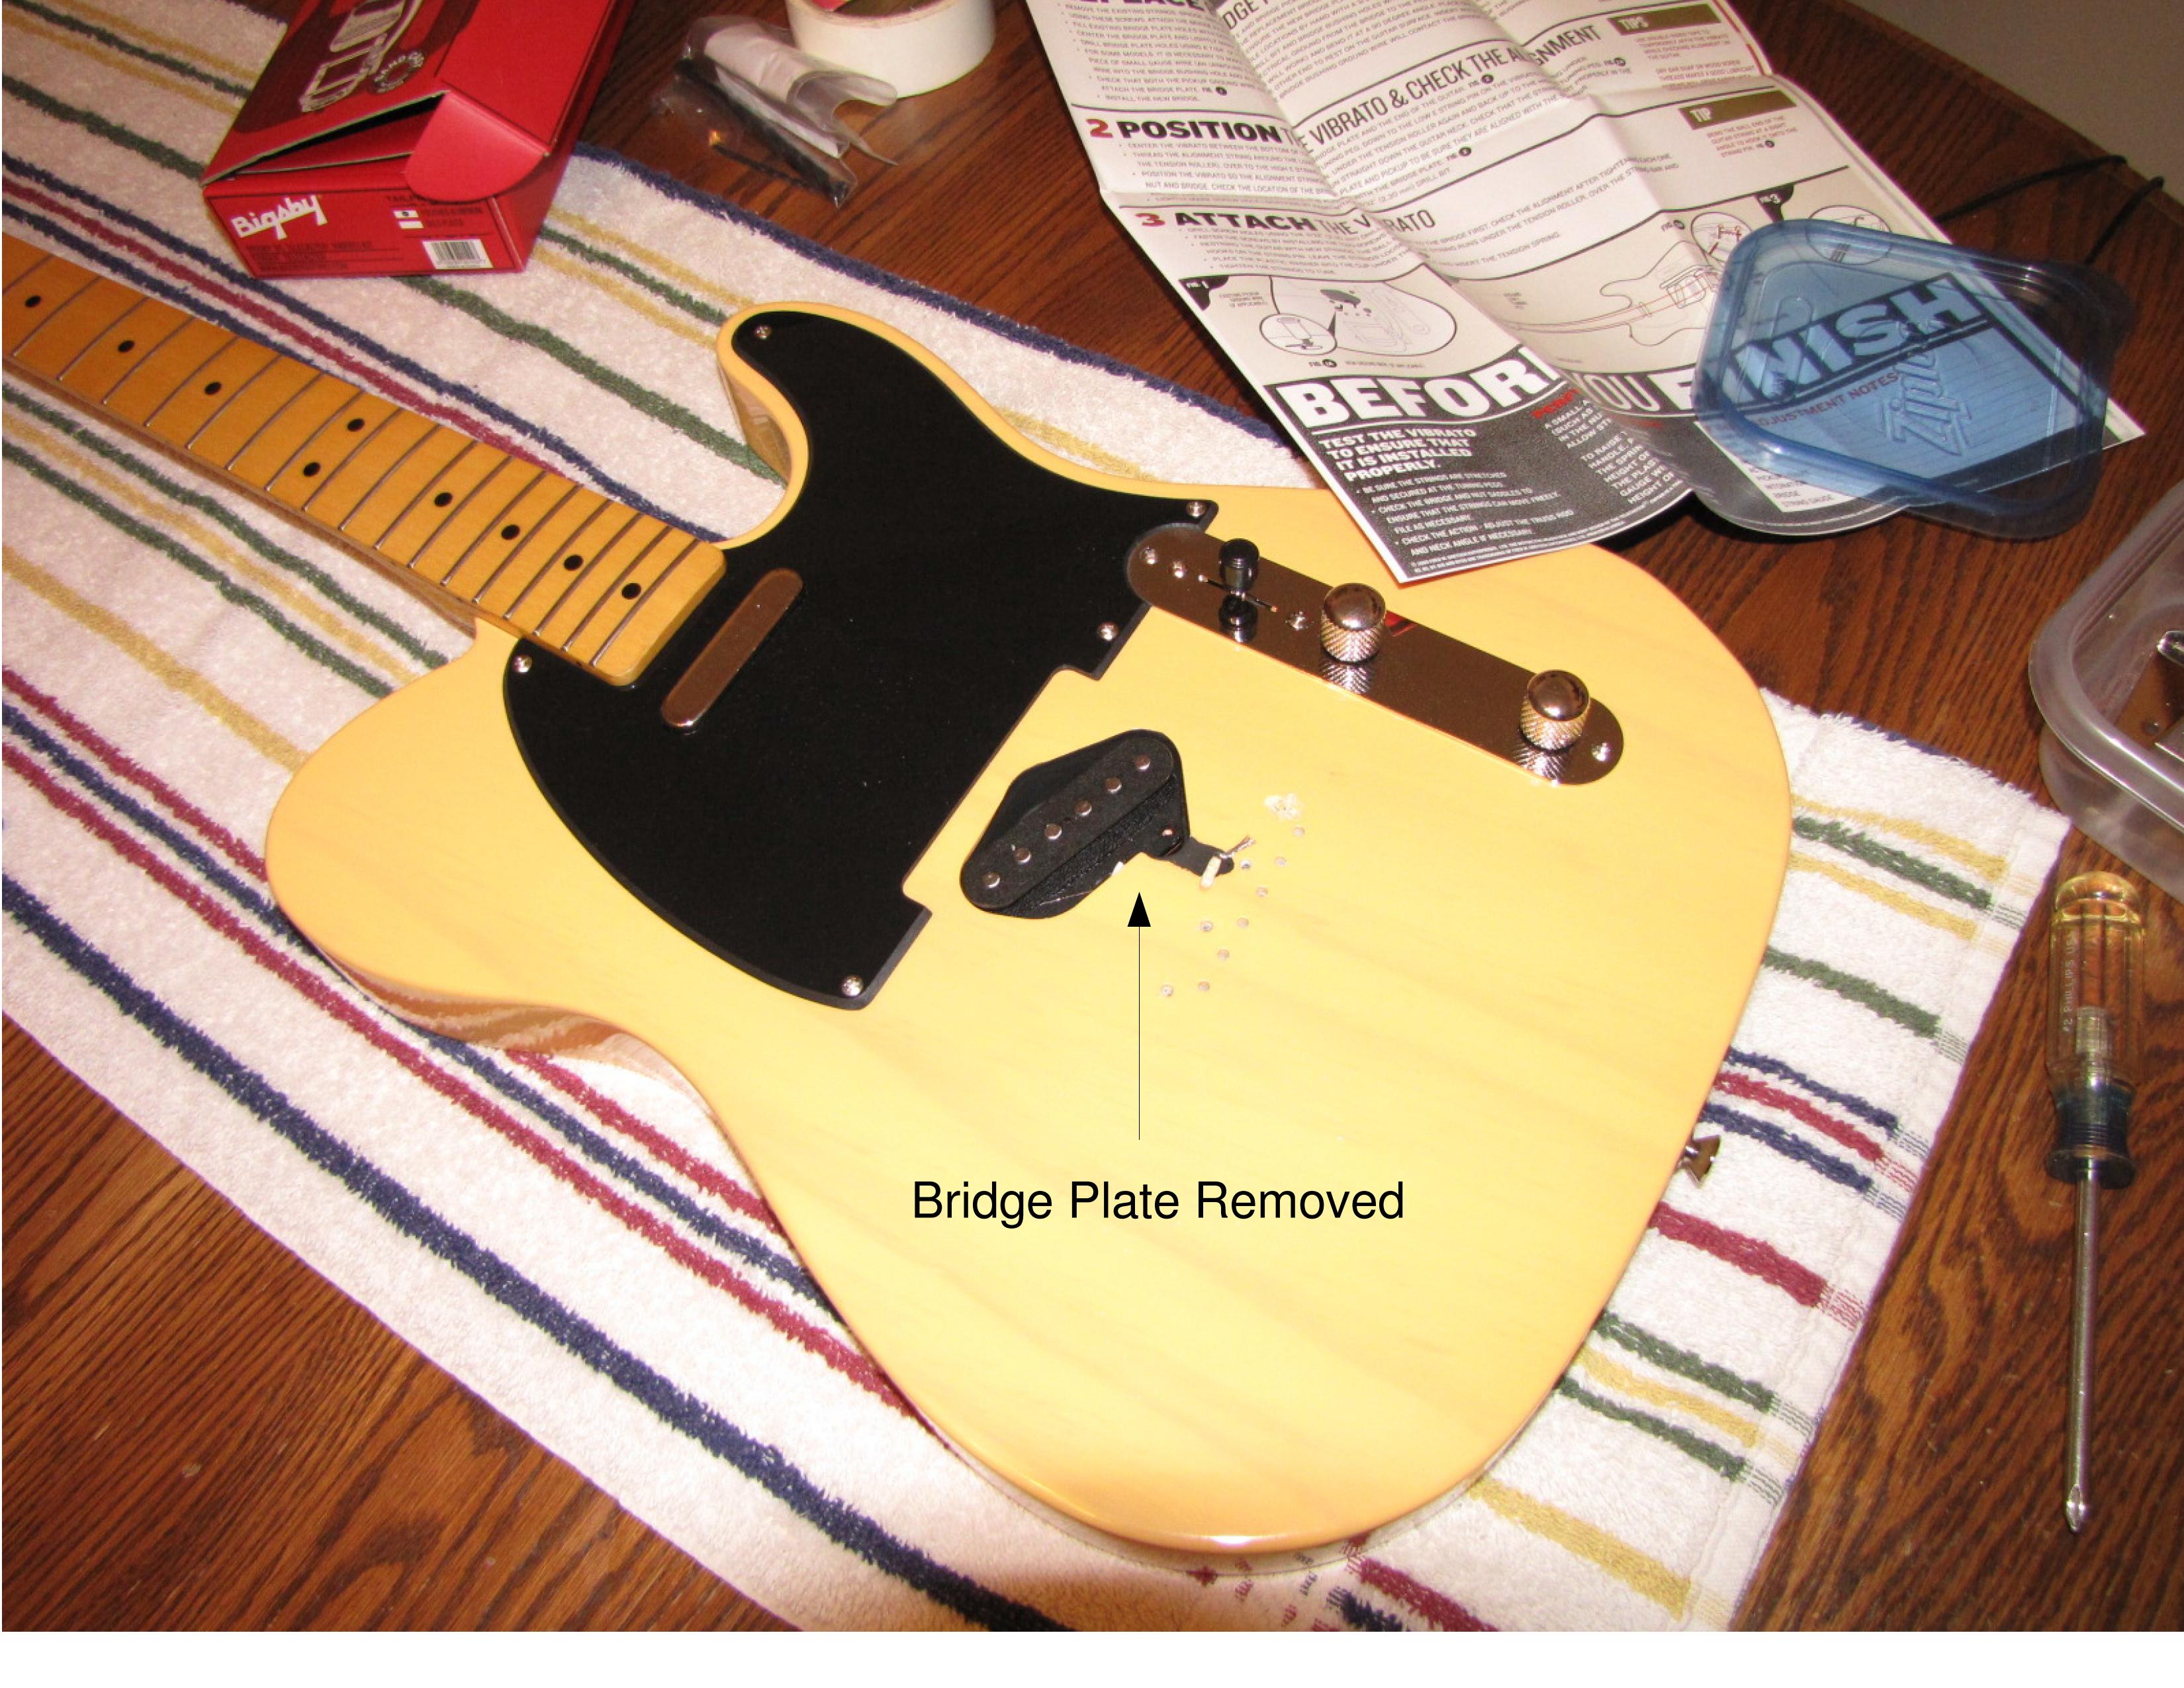
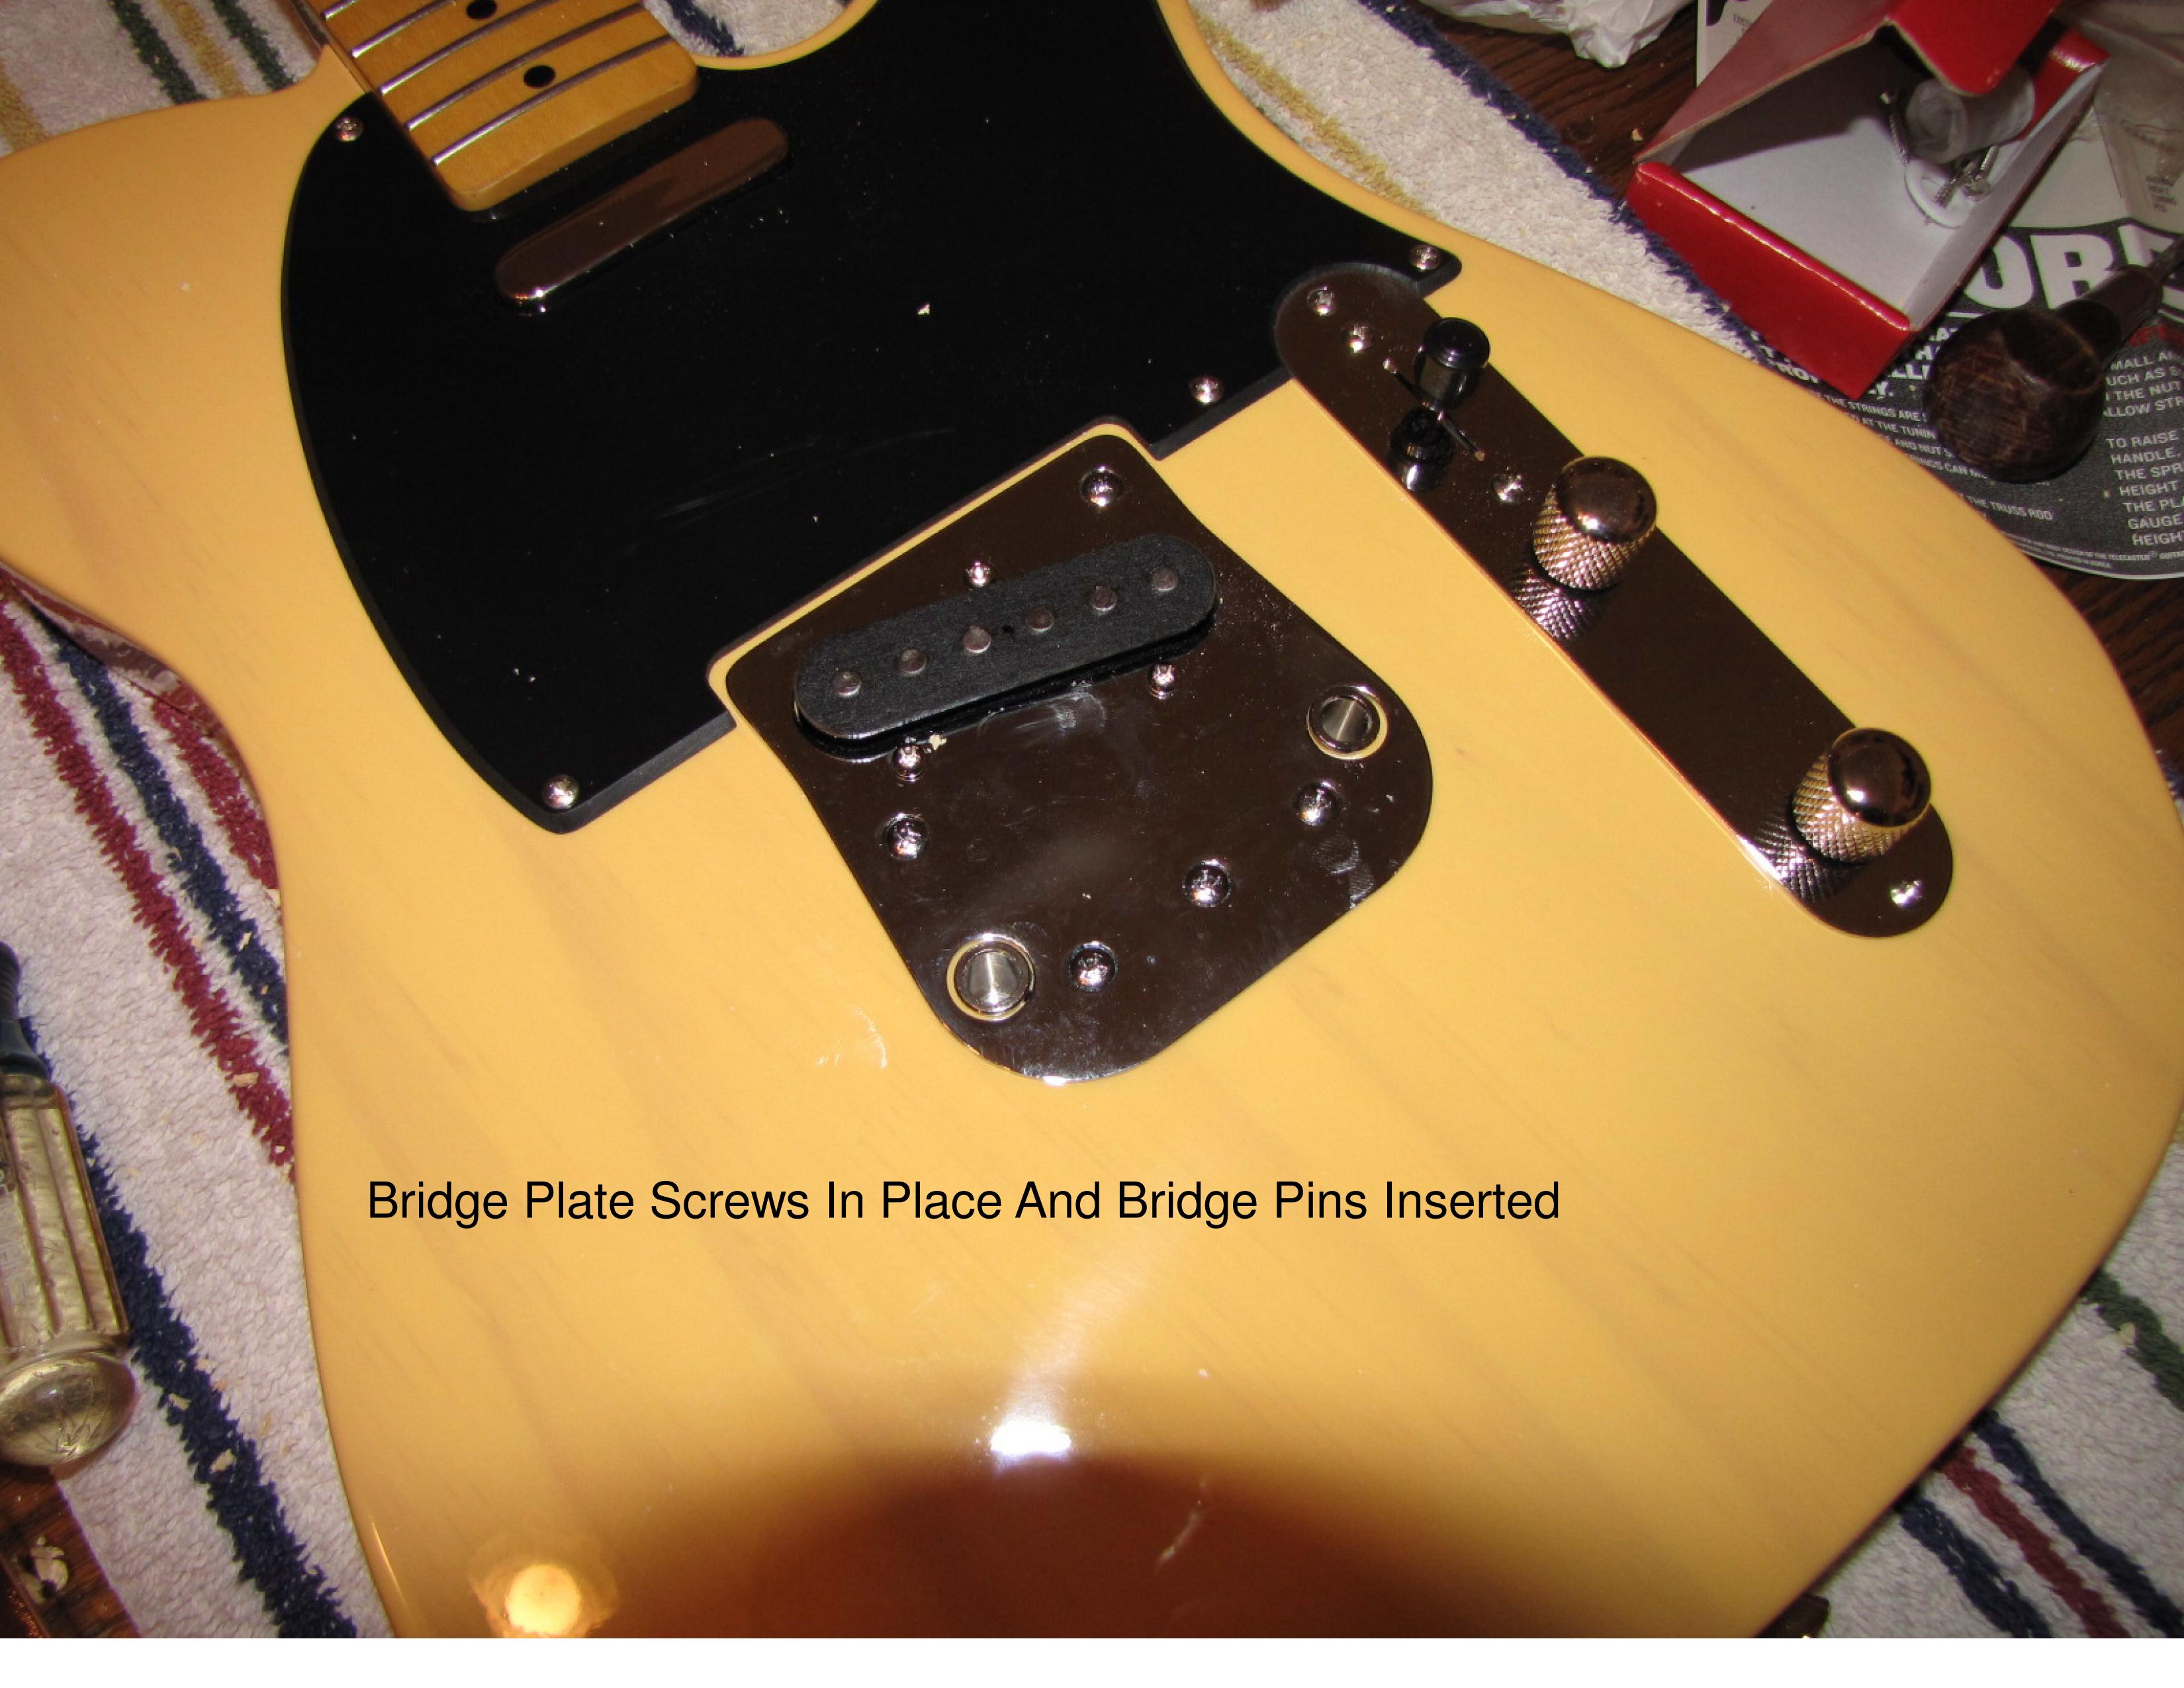
the Bigsby bridge plate which then contacts the bridge. No extra ground wire needed! I also did not fill the original bridge plate holes with dowel rods as suggested in the instructions. The new bridge
holes were nowhere near the old ones so I figured this was not necessary. I ended up putting both a penny and the spacer washer under the spring to get the vibrato arm high enough for my taste.
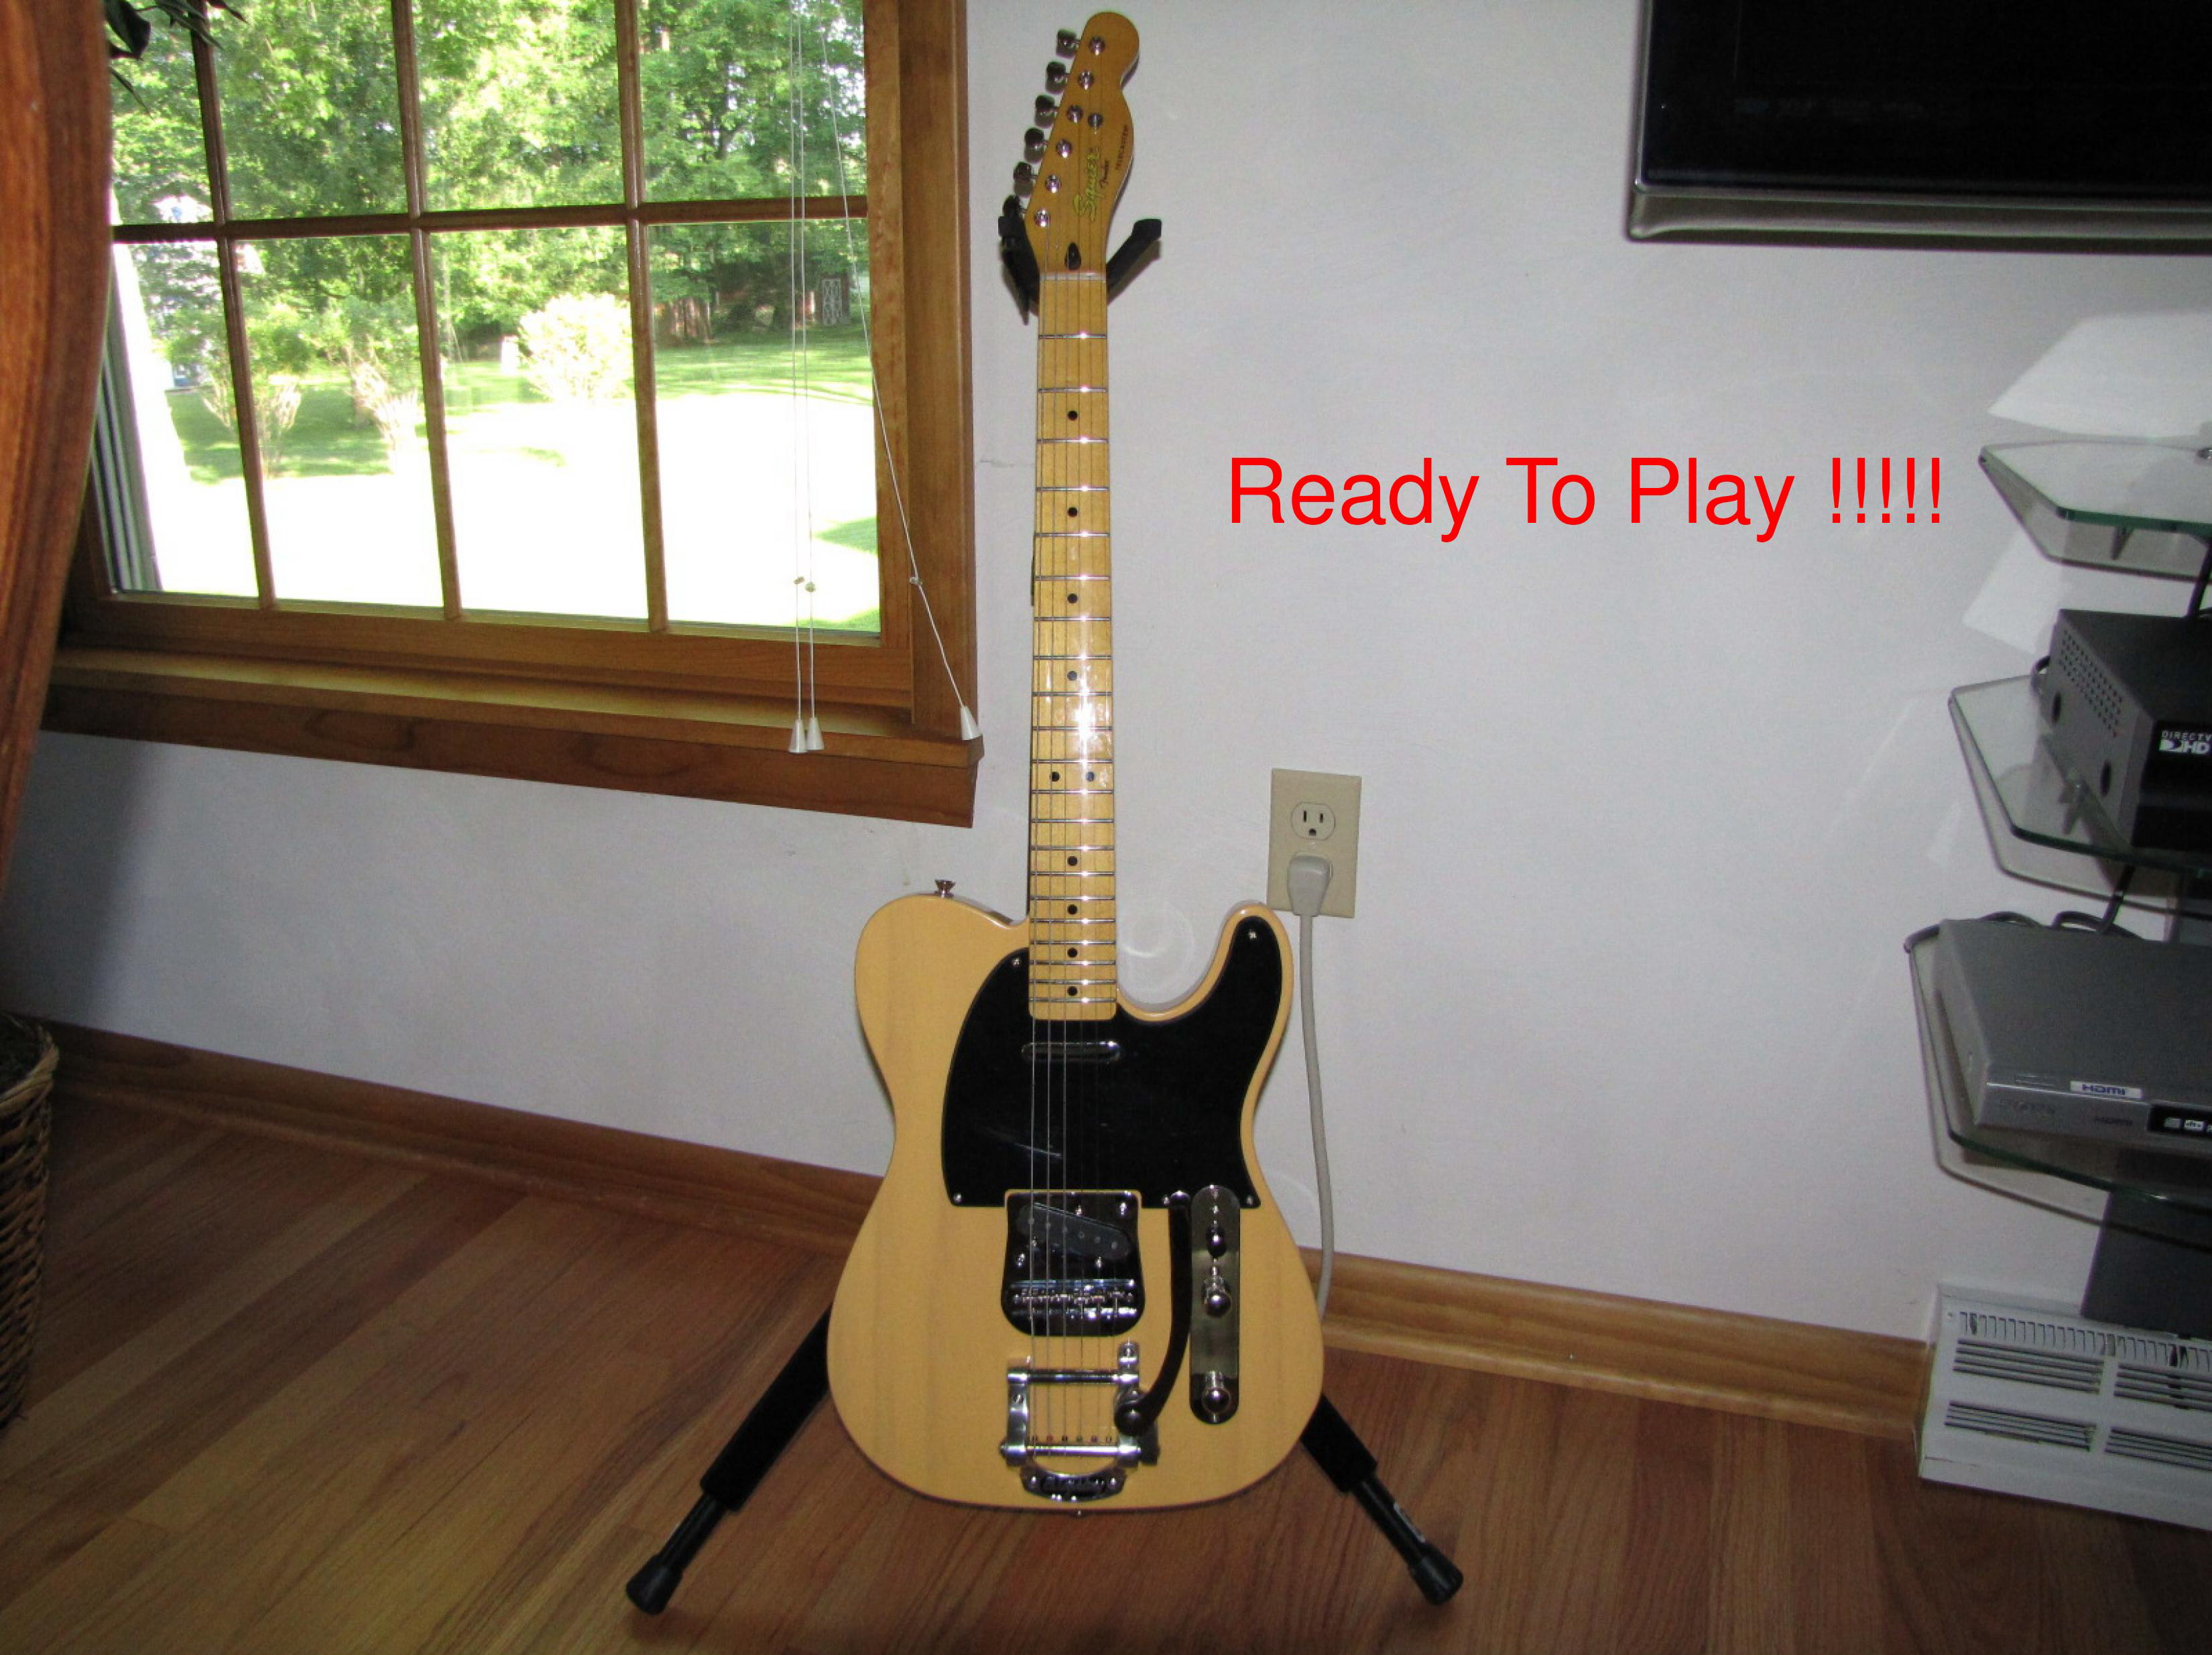
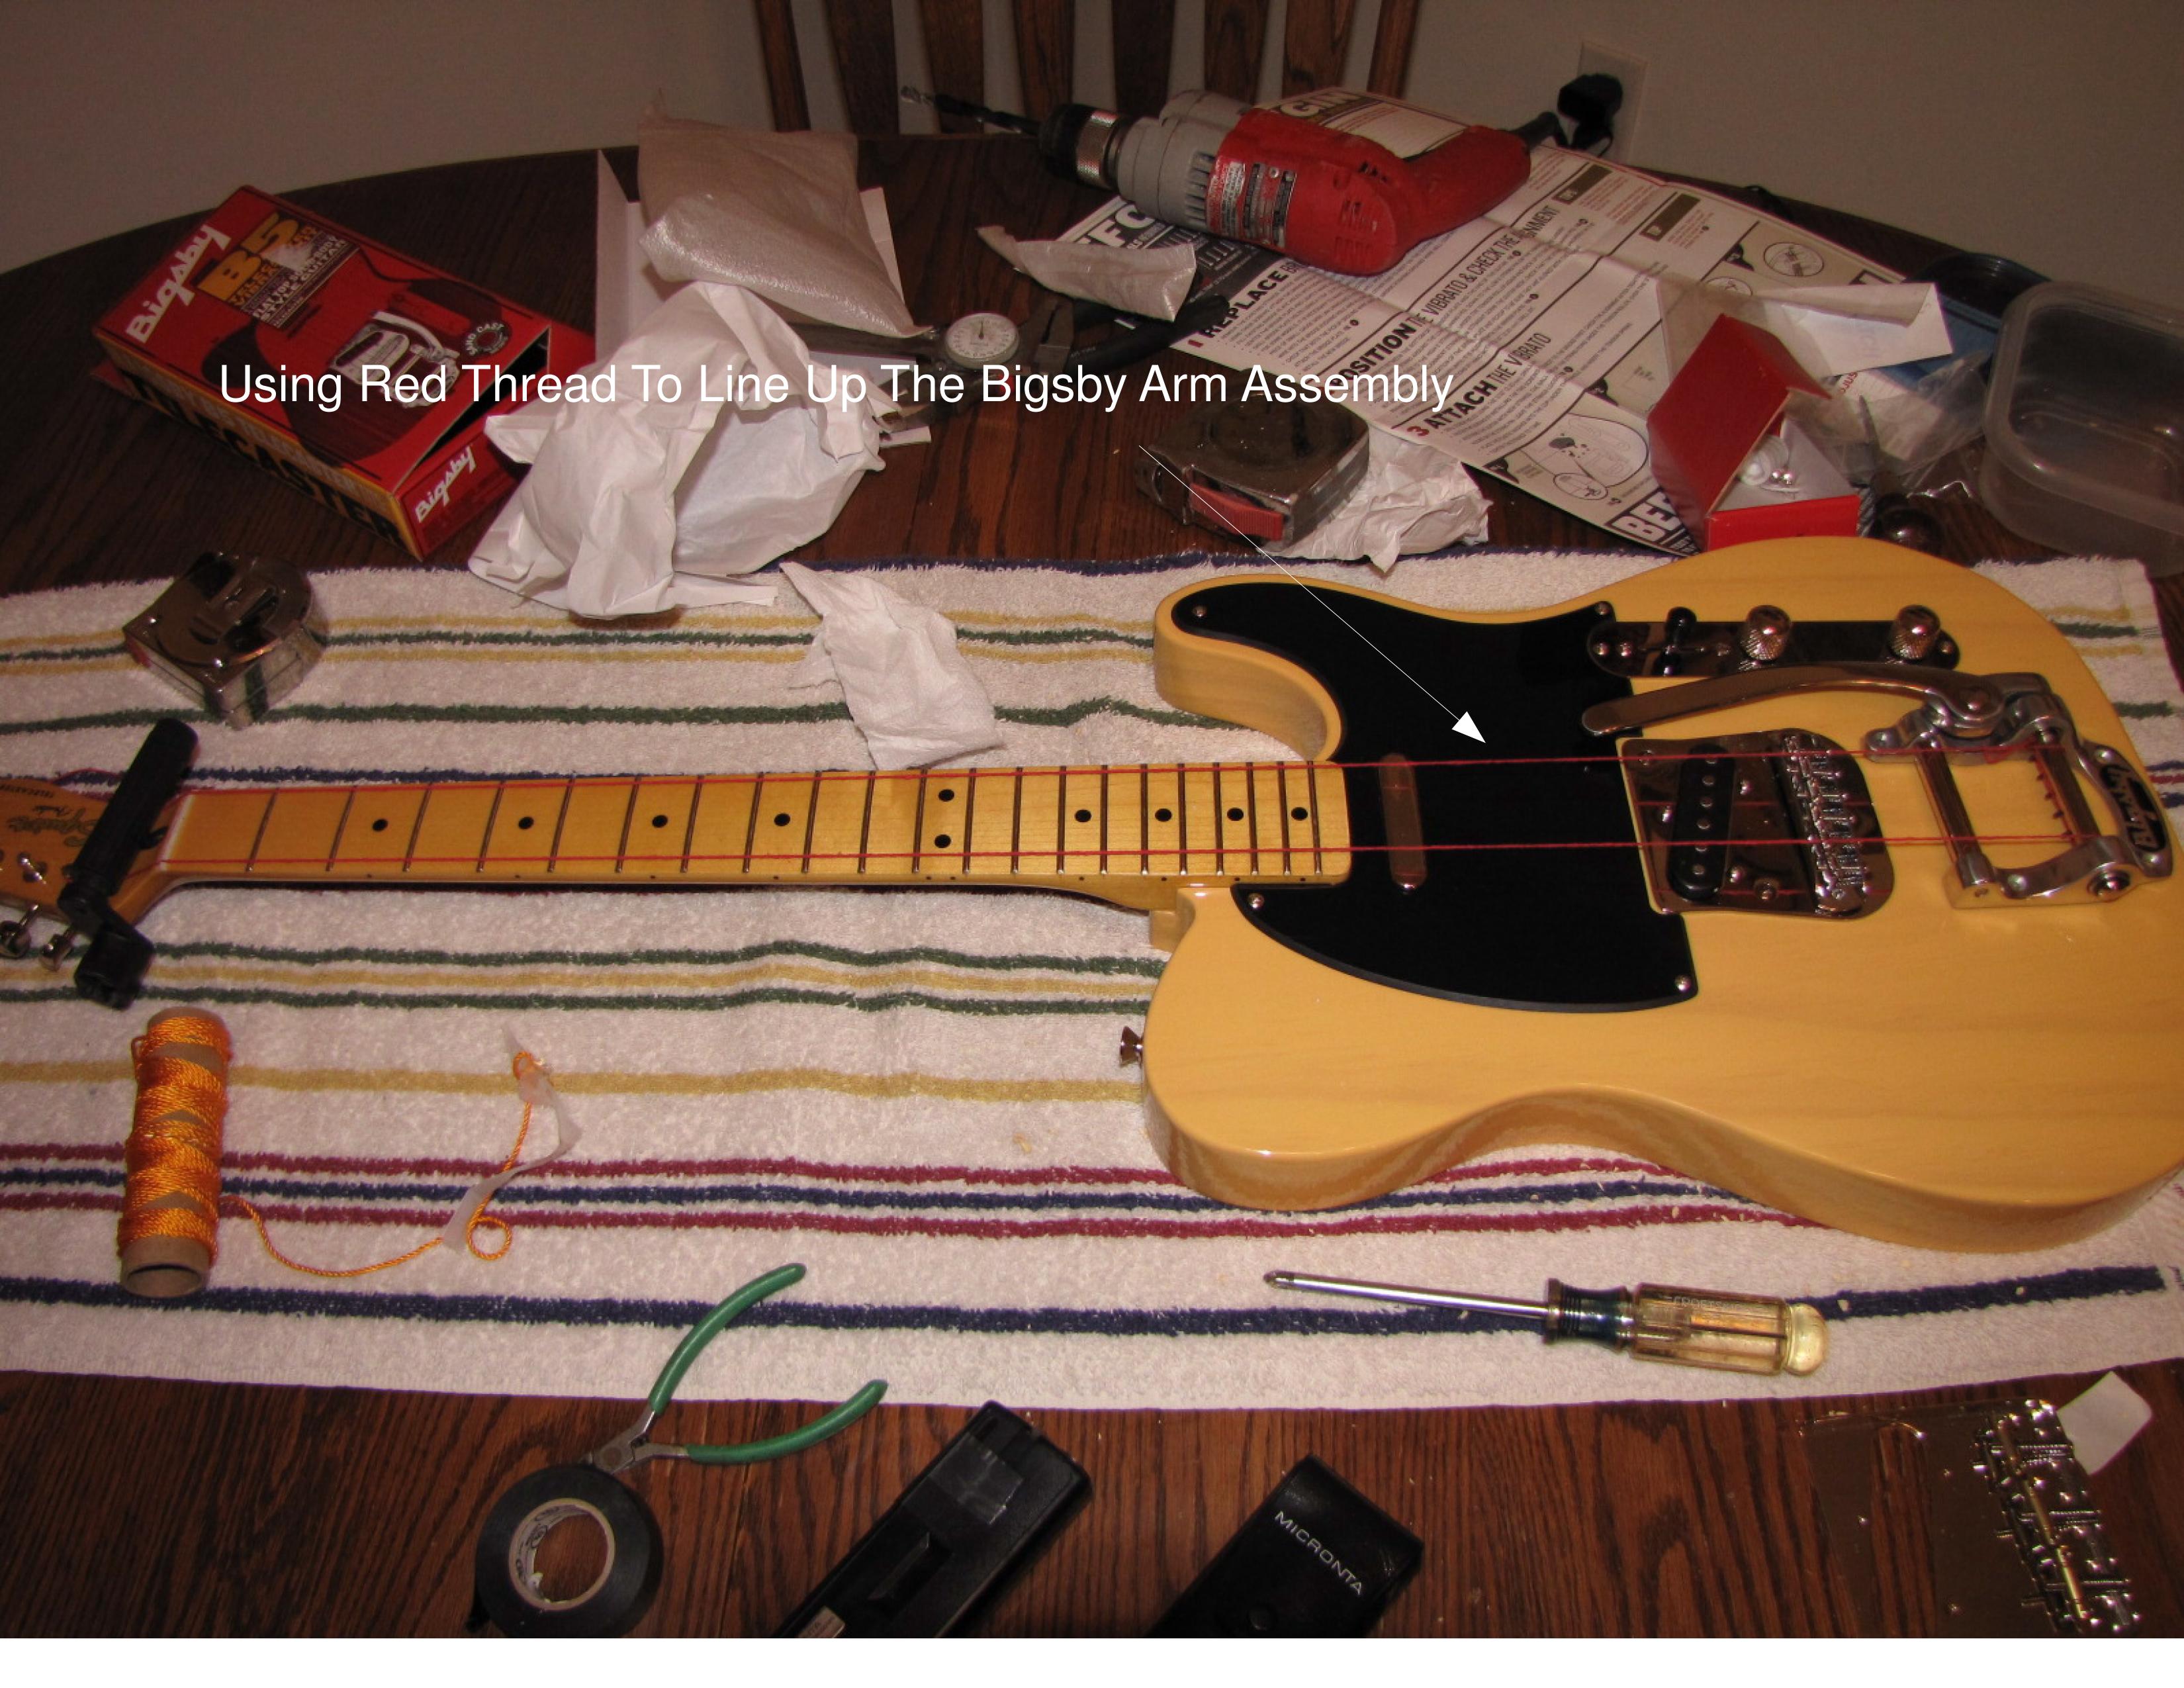
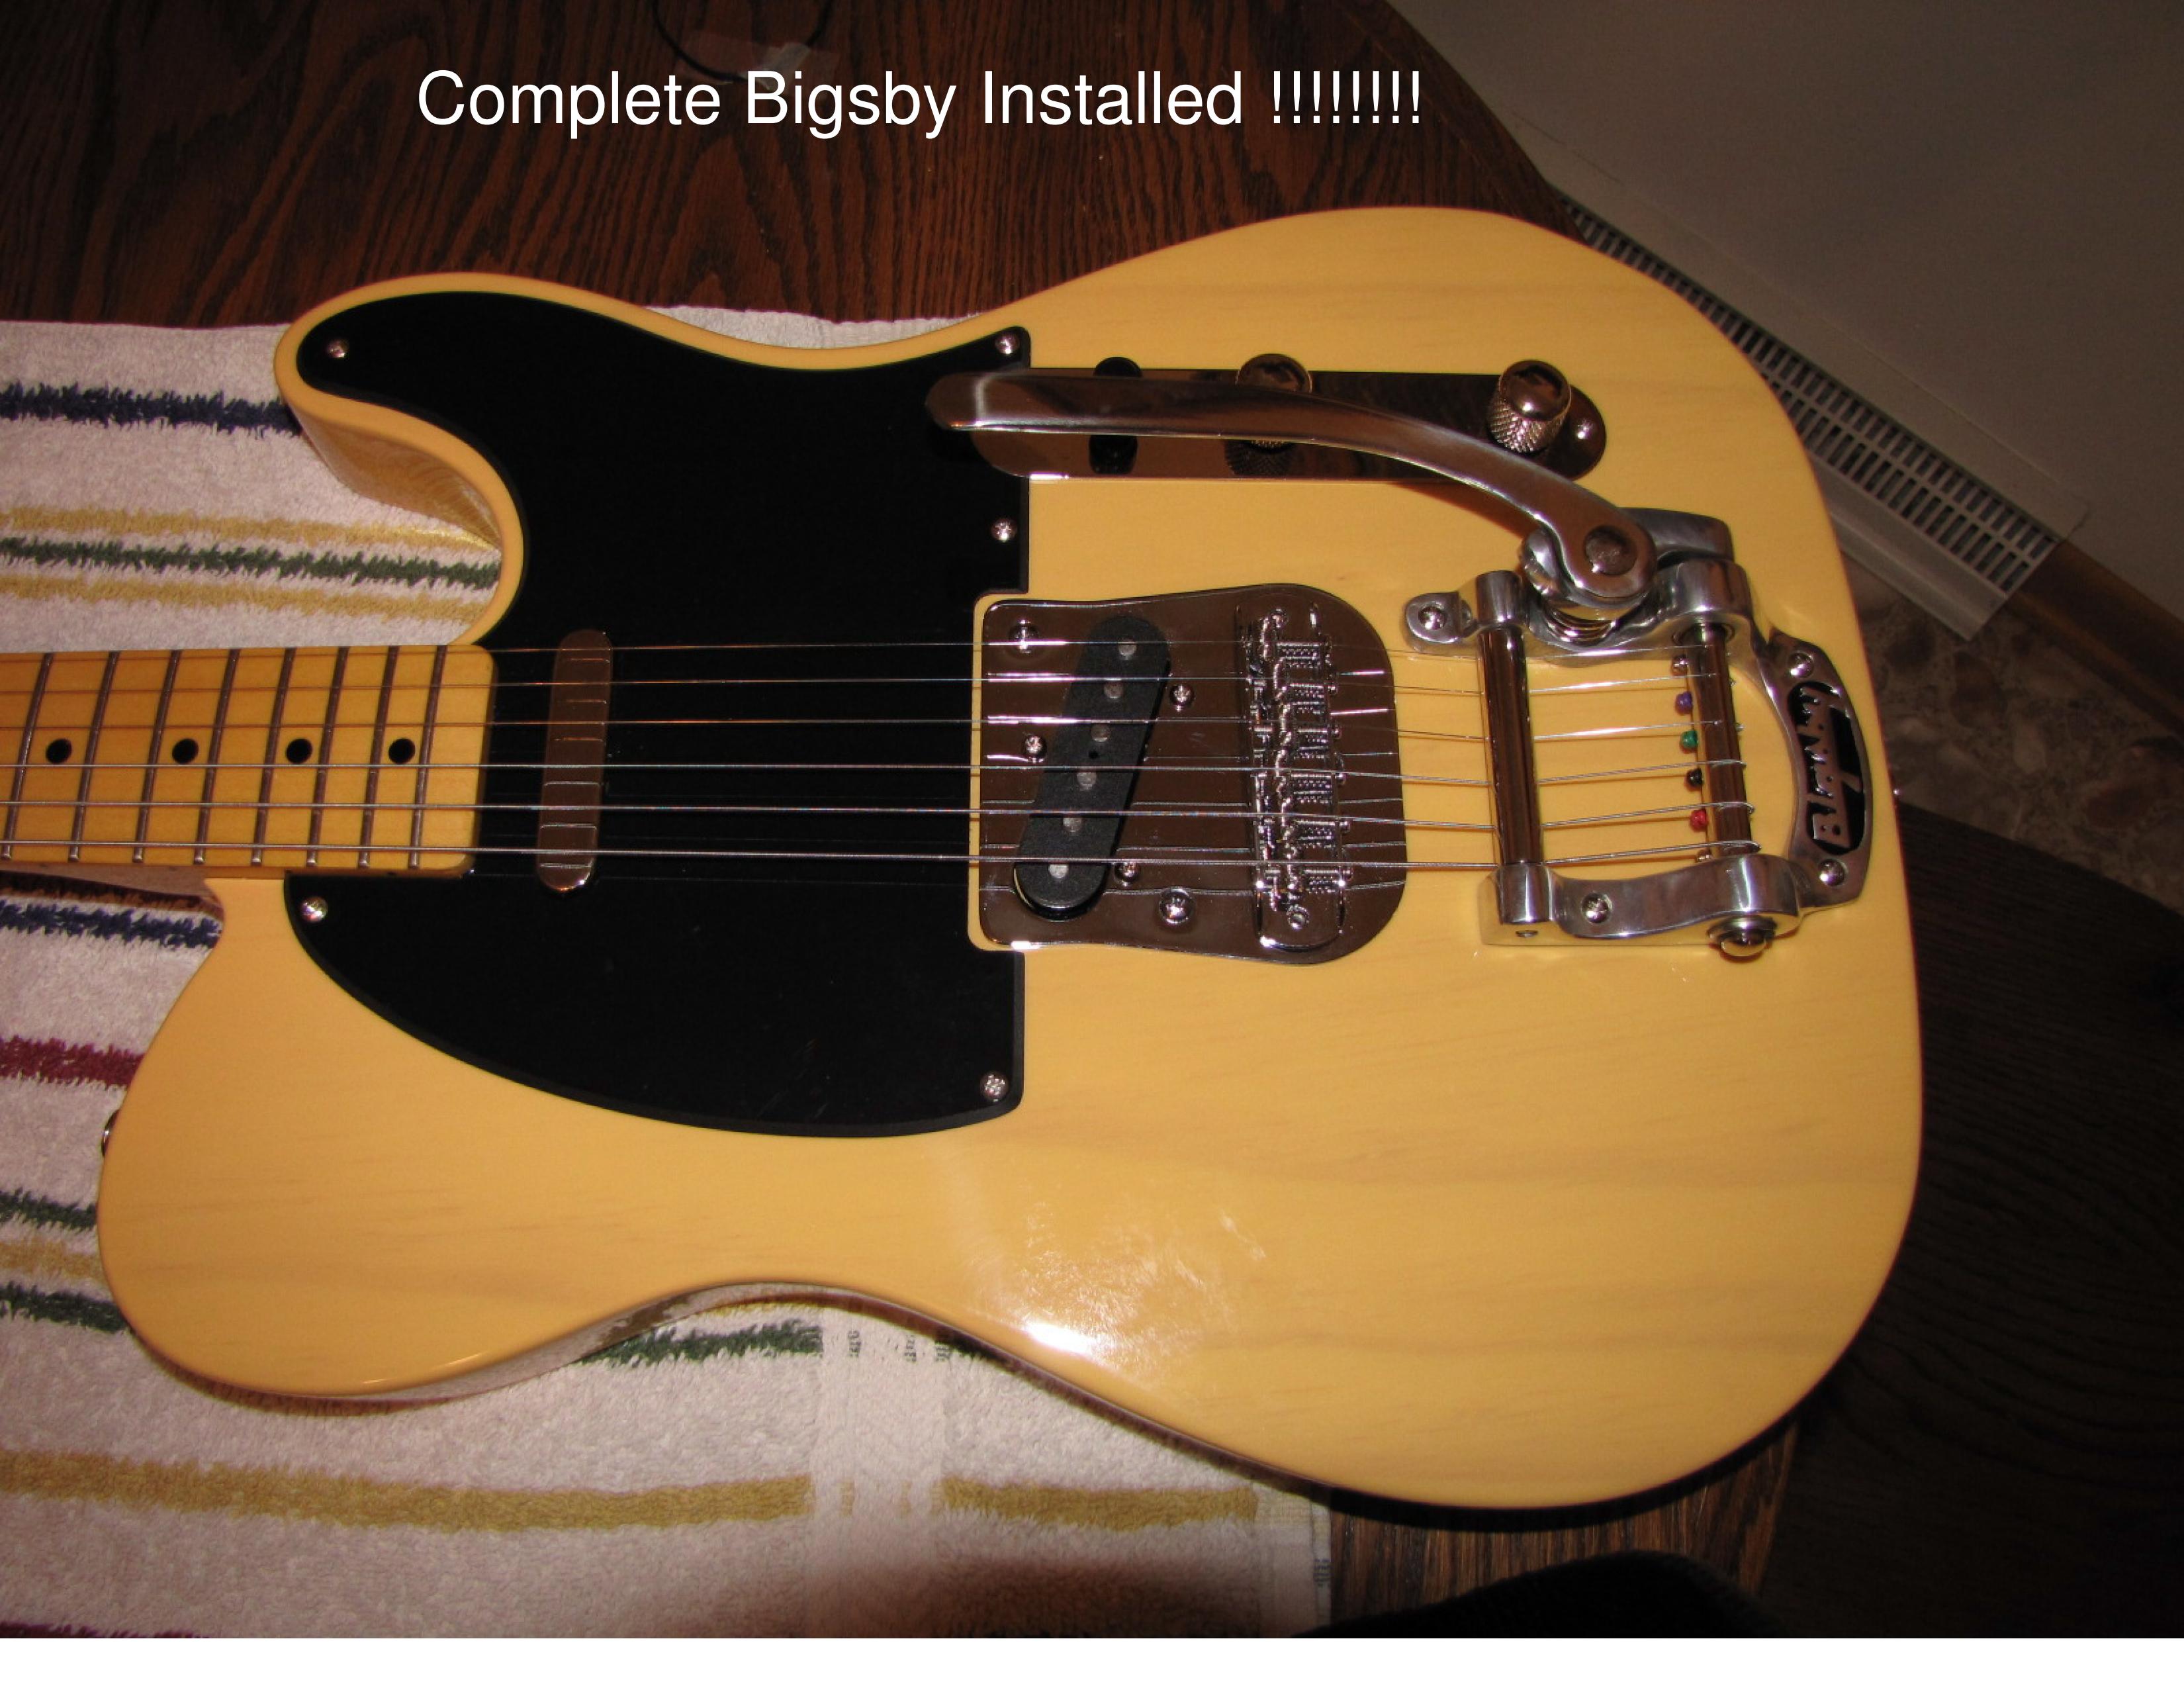
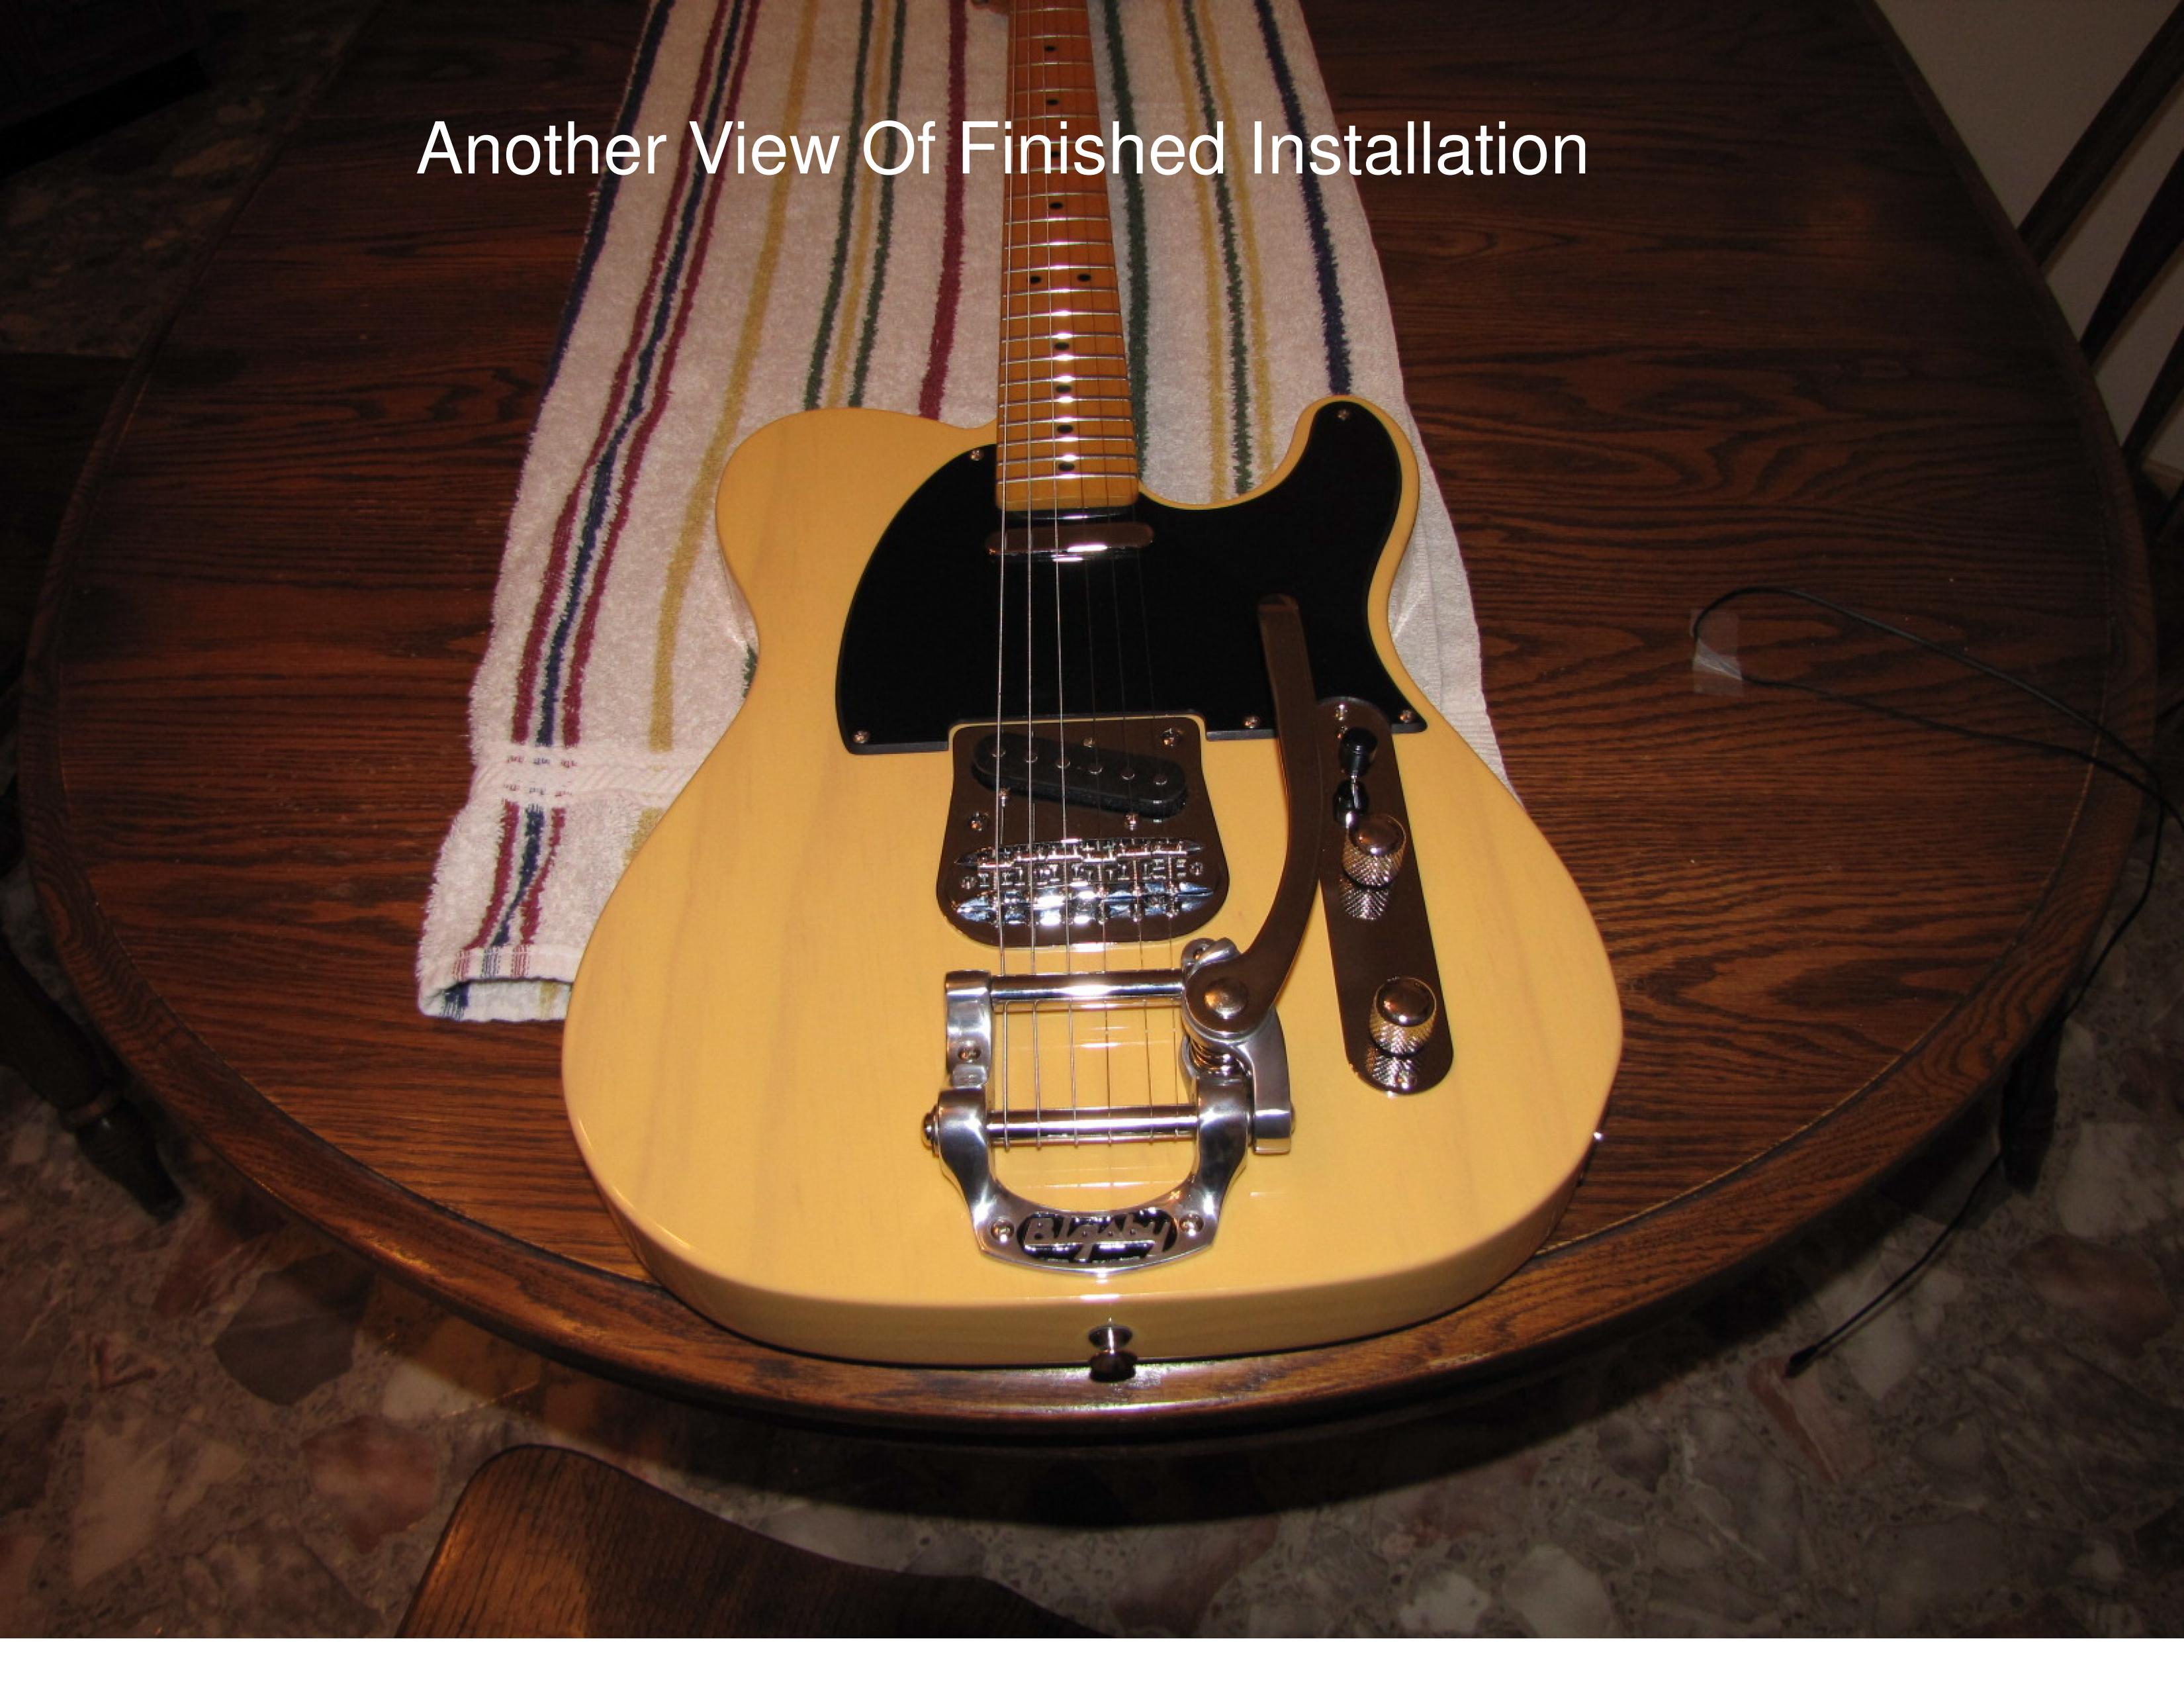
This thing looks awesome in person! Overall I am very happy with this unit. I don't see any tone or sustain change from the original bridge. This bridge also comes with the Fender "F" logo
but I preferred the "Bigsby" logo as pictured here.